Hands-on Health
Overview
For my MFA Thesis project, I designed tactile and accessible tools to teach children with visual impairments anatomy and physiology in the context of sexual health. Hands-on Health kits are a set of “press-and-play” educational tools created to teach children with visual impairments between the age of 12 and 14 about anatomy and physiology in the context of sexual health and well-being. Understanding how your body works is an important step in feeling safe and comfortable about the changes that bodies go through during adolescence.
The Context
This project was created in collaboration with Jnana Prabodhini's Institute of Psychology and their Introduction to Touch program. This initiative aims at spreading awareness among children about good and bad touch without generating fear about their relationships. A part of this initiative involved helping children understand their anatomy and physiology in the context of sexual health.
The Challenge
As the initiative expanded, one of the biggest challenges they had was accessibility. A separate curriculum does not exist for teaching anatomy and physiology to visually impaired students. It is difficult to use images and text as a learning tool. I aimed to answer the question - how might we educate children with visual impairments about anatomy and physiology in the context of sexual health and wellbeing?
The Solution
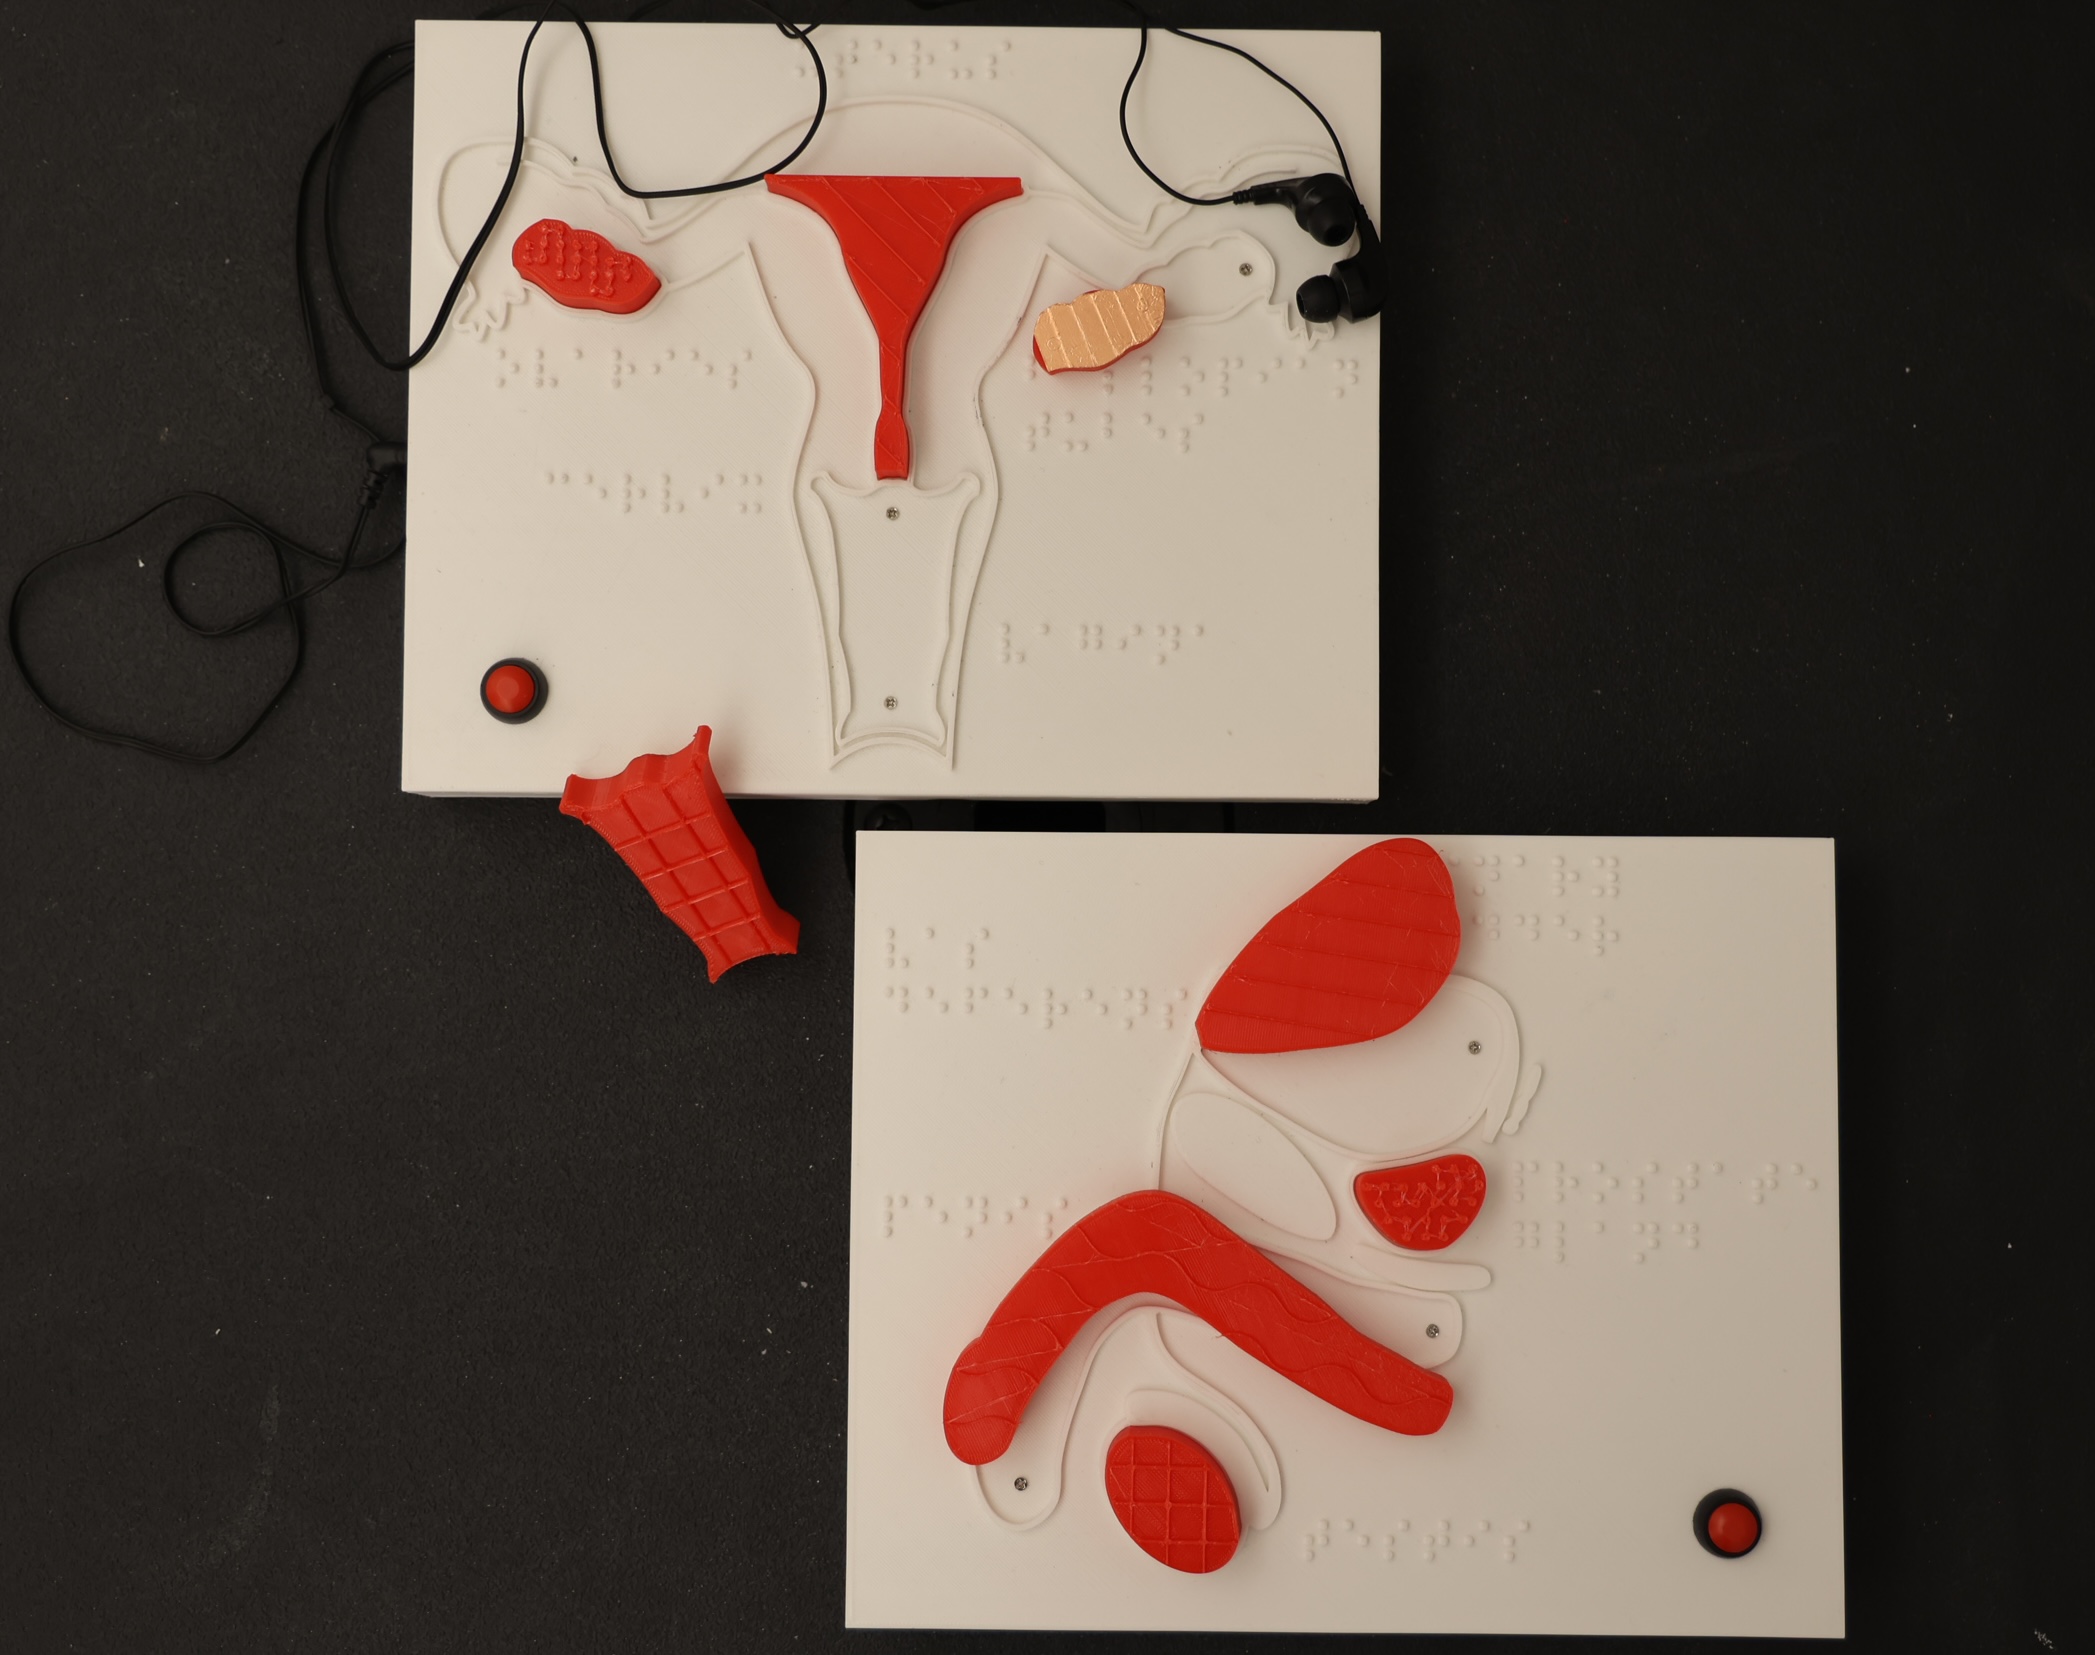
Using textured and embossed surfaces, physical objects, and audio descriptions, I created press-and-play tools where children can feel and follow the shapes of different organs, place them in the anatomy and hear their function. While this project had a specific context, it could be expanded into general anatomy and biology contexts as a learning tool.
Research and References
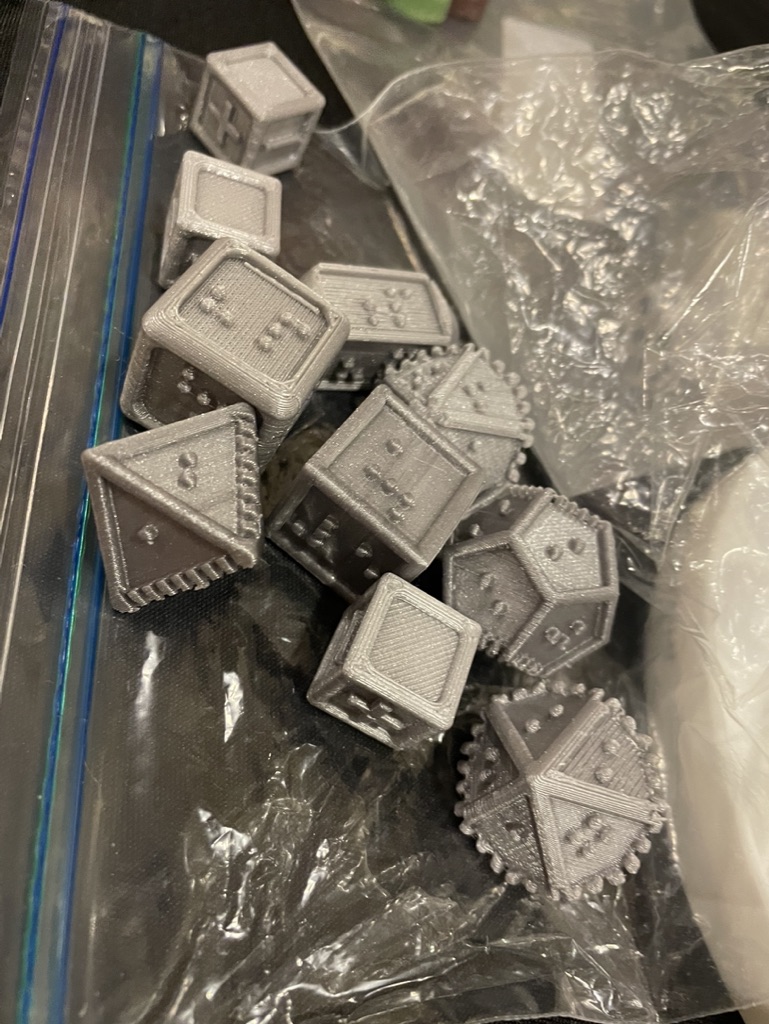
3D printed dice with braille numbers
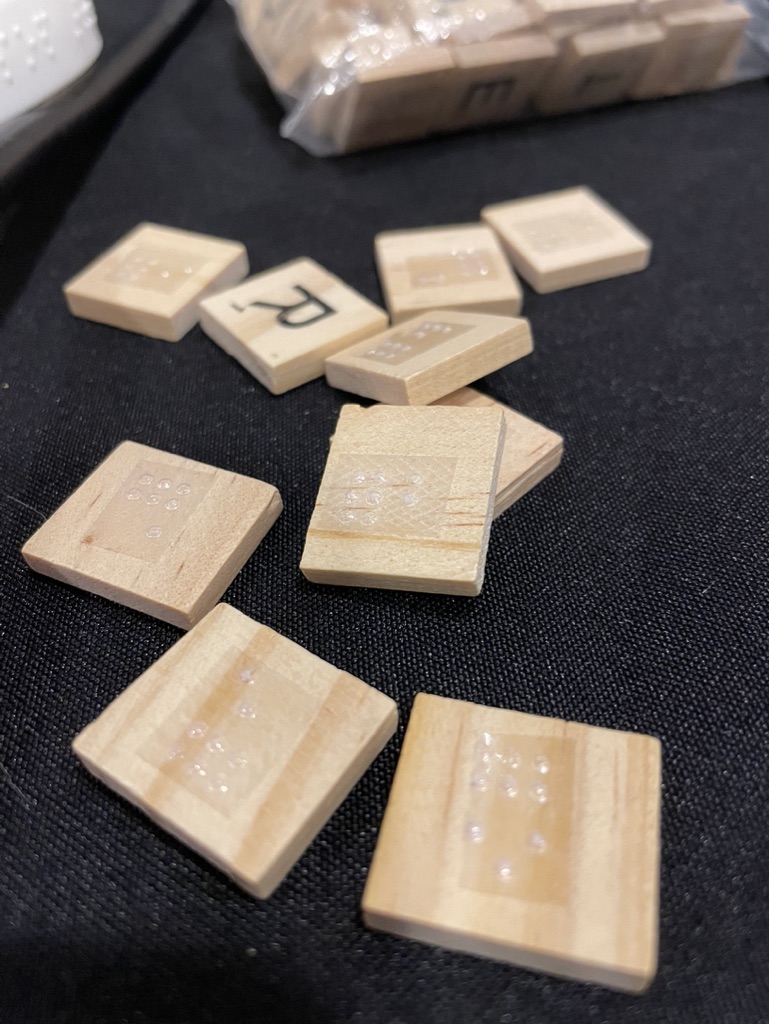
Braille letters on scrabble tiles
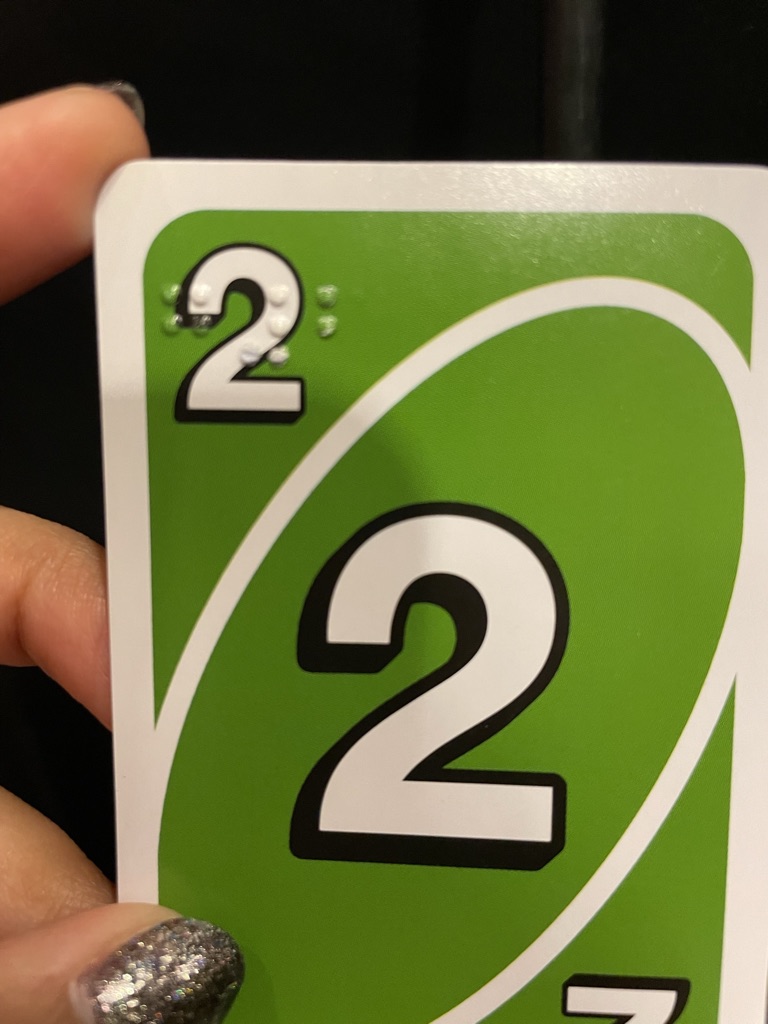
Braille numbers on Uno cards
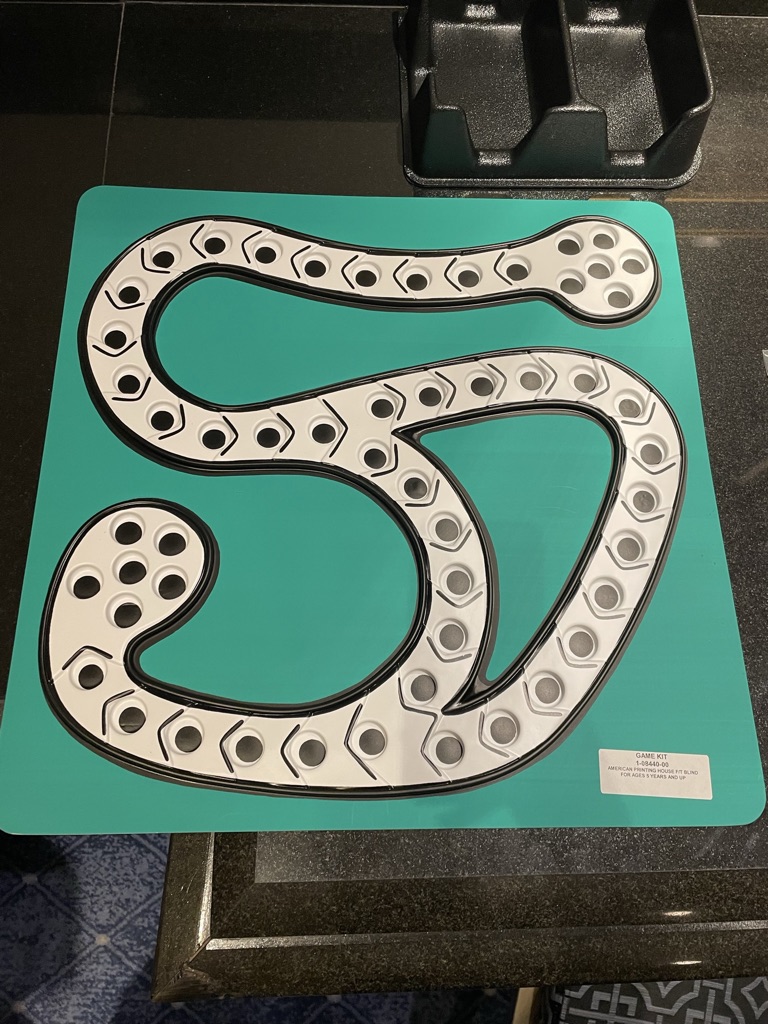
Board games with holes to differentiate spaces
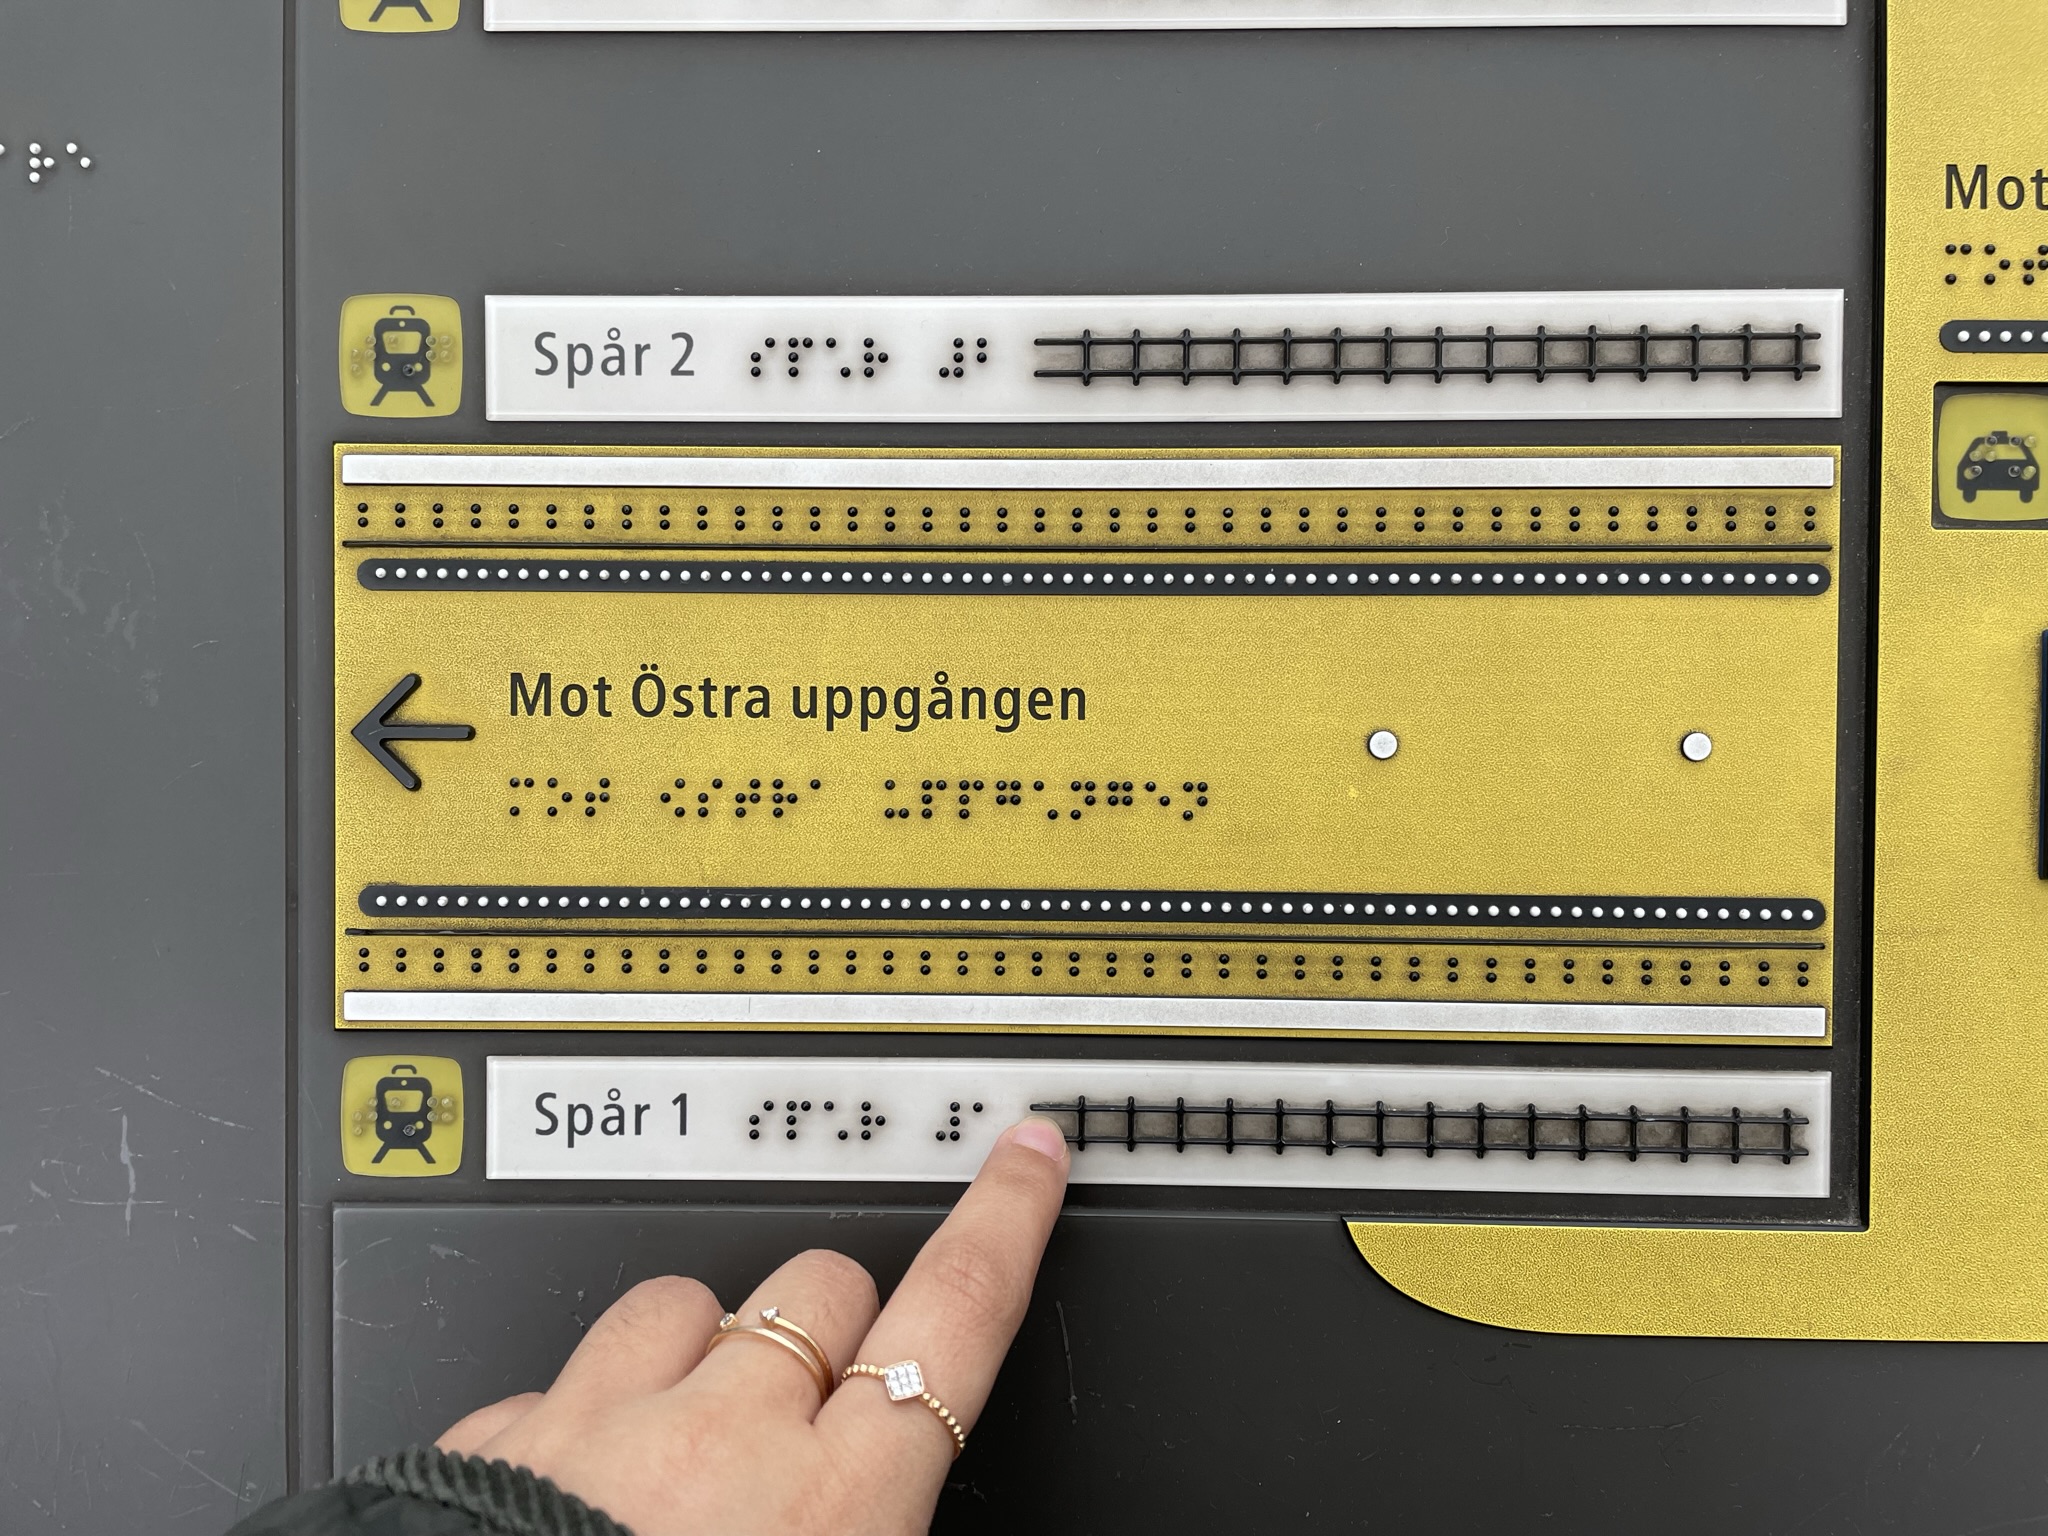
Train station signs in Braille for size reference
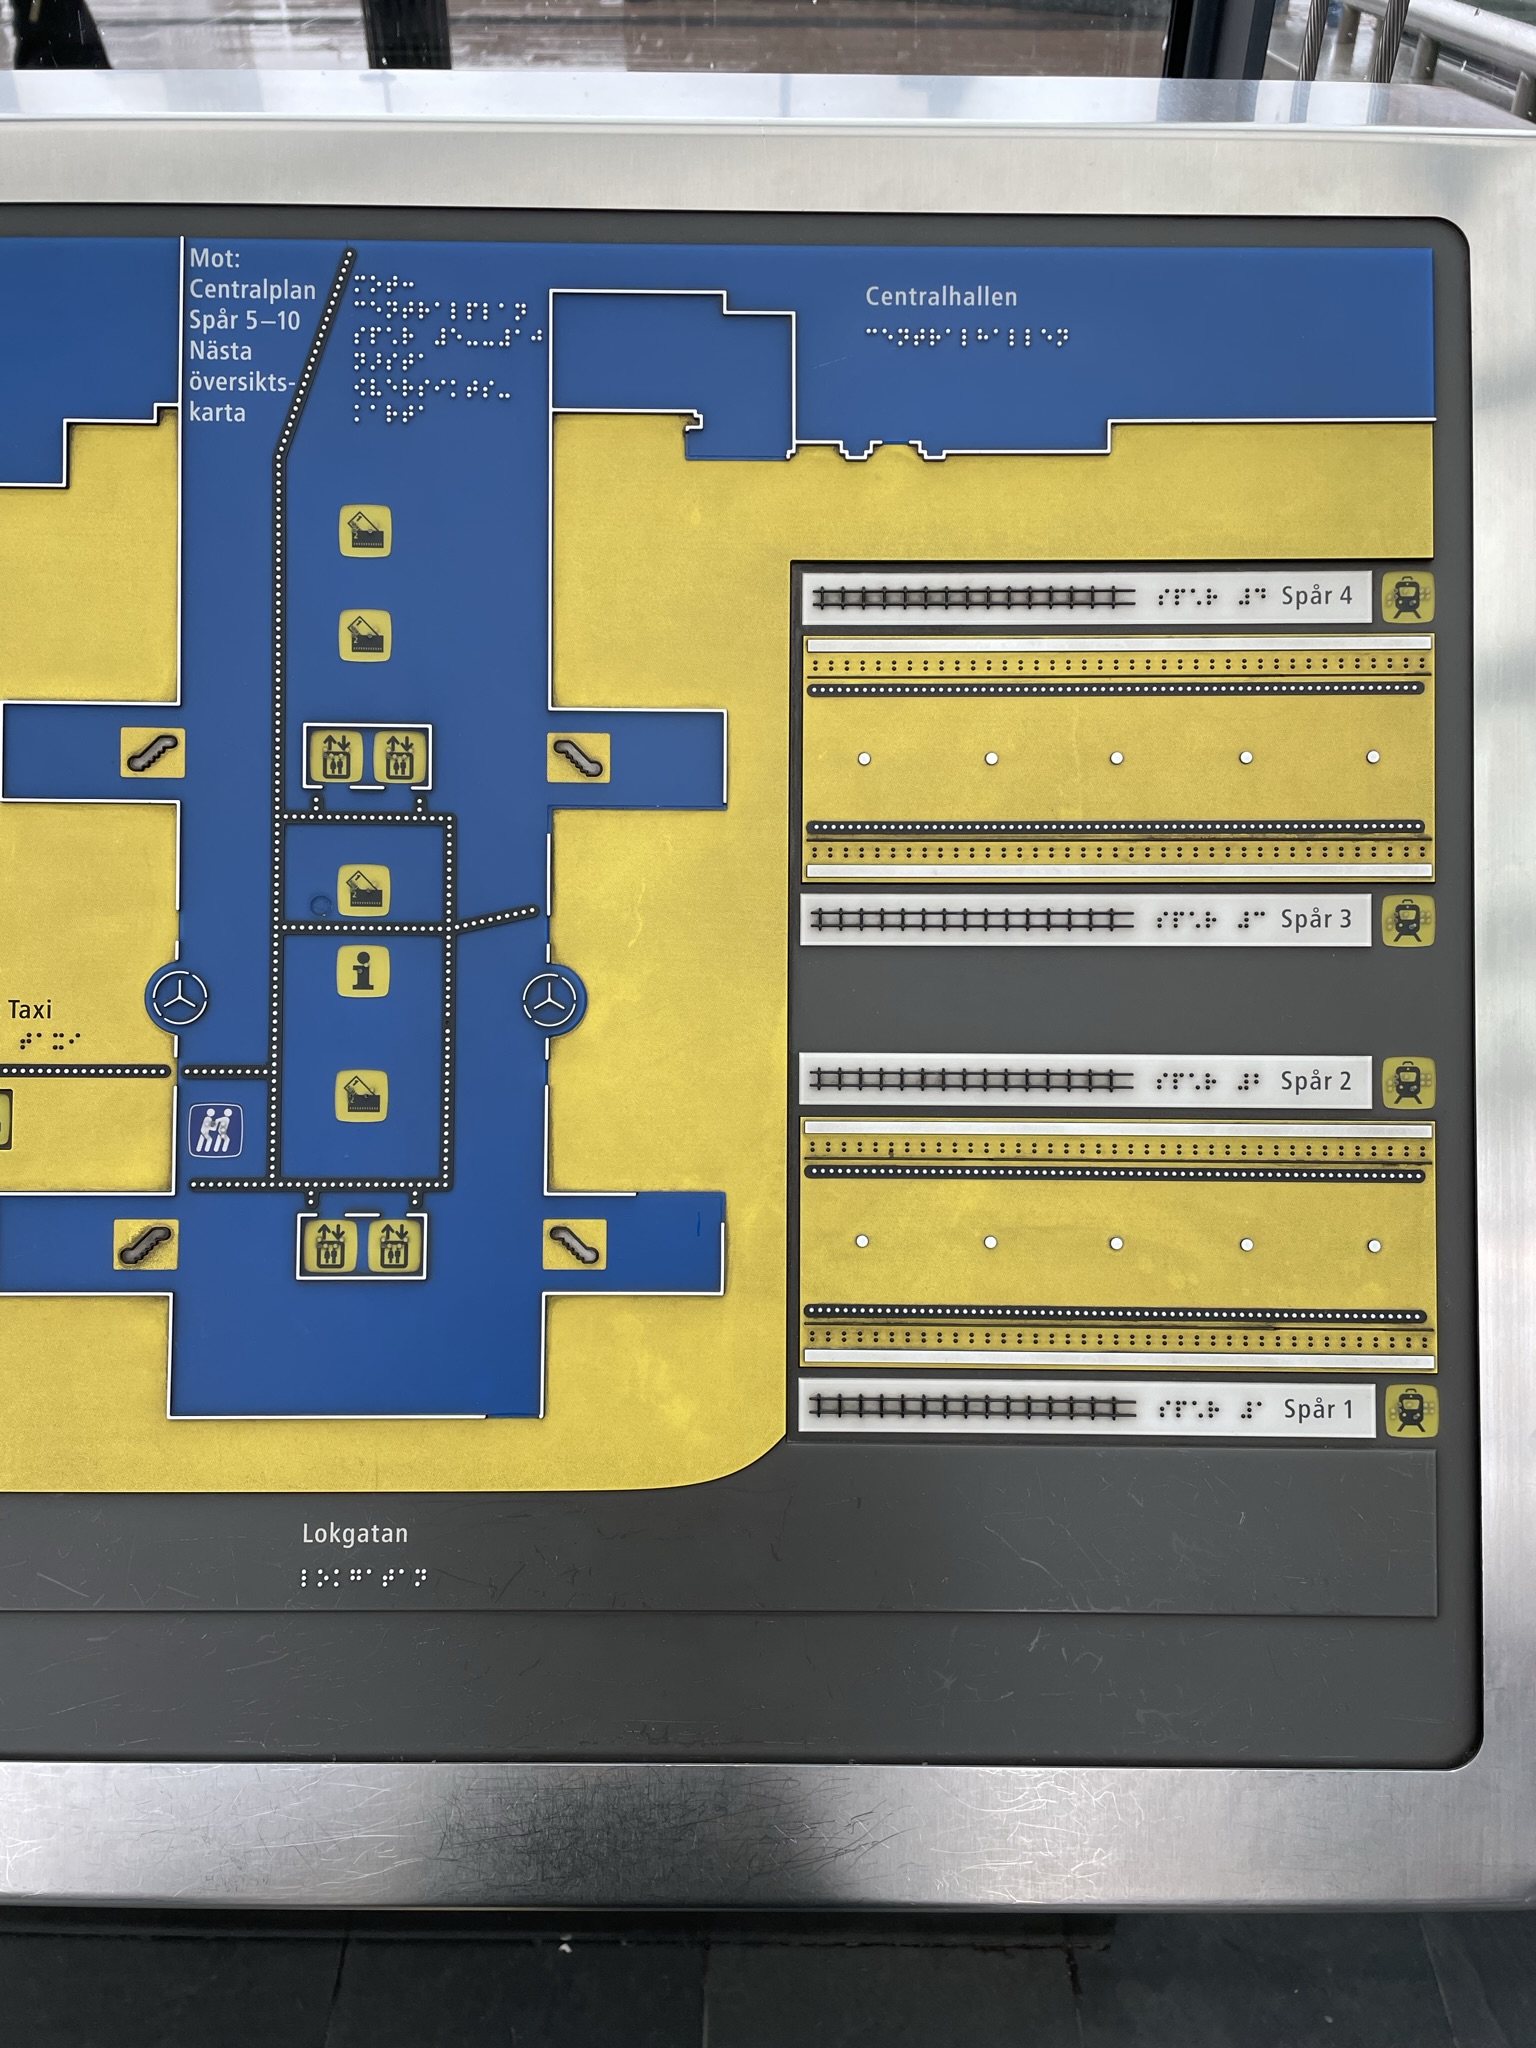
Raised lines to create a tactile train station layout
Material Exploration
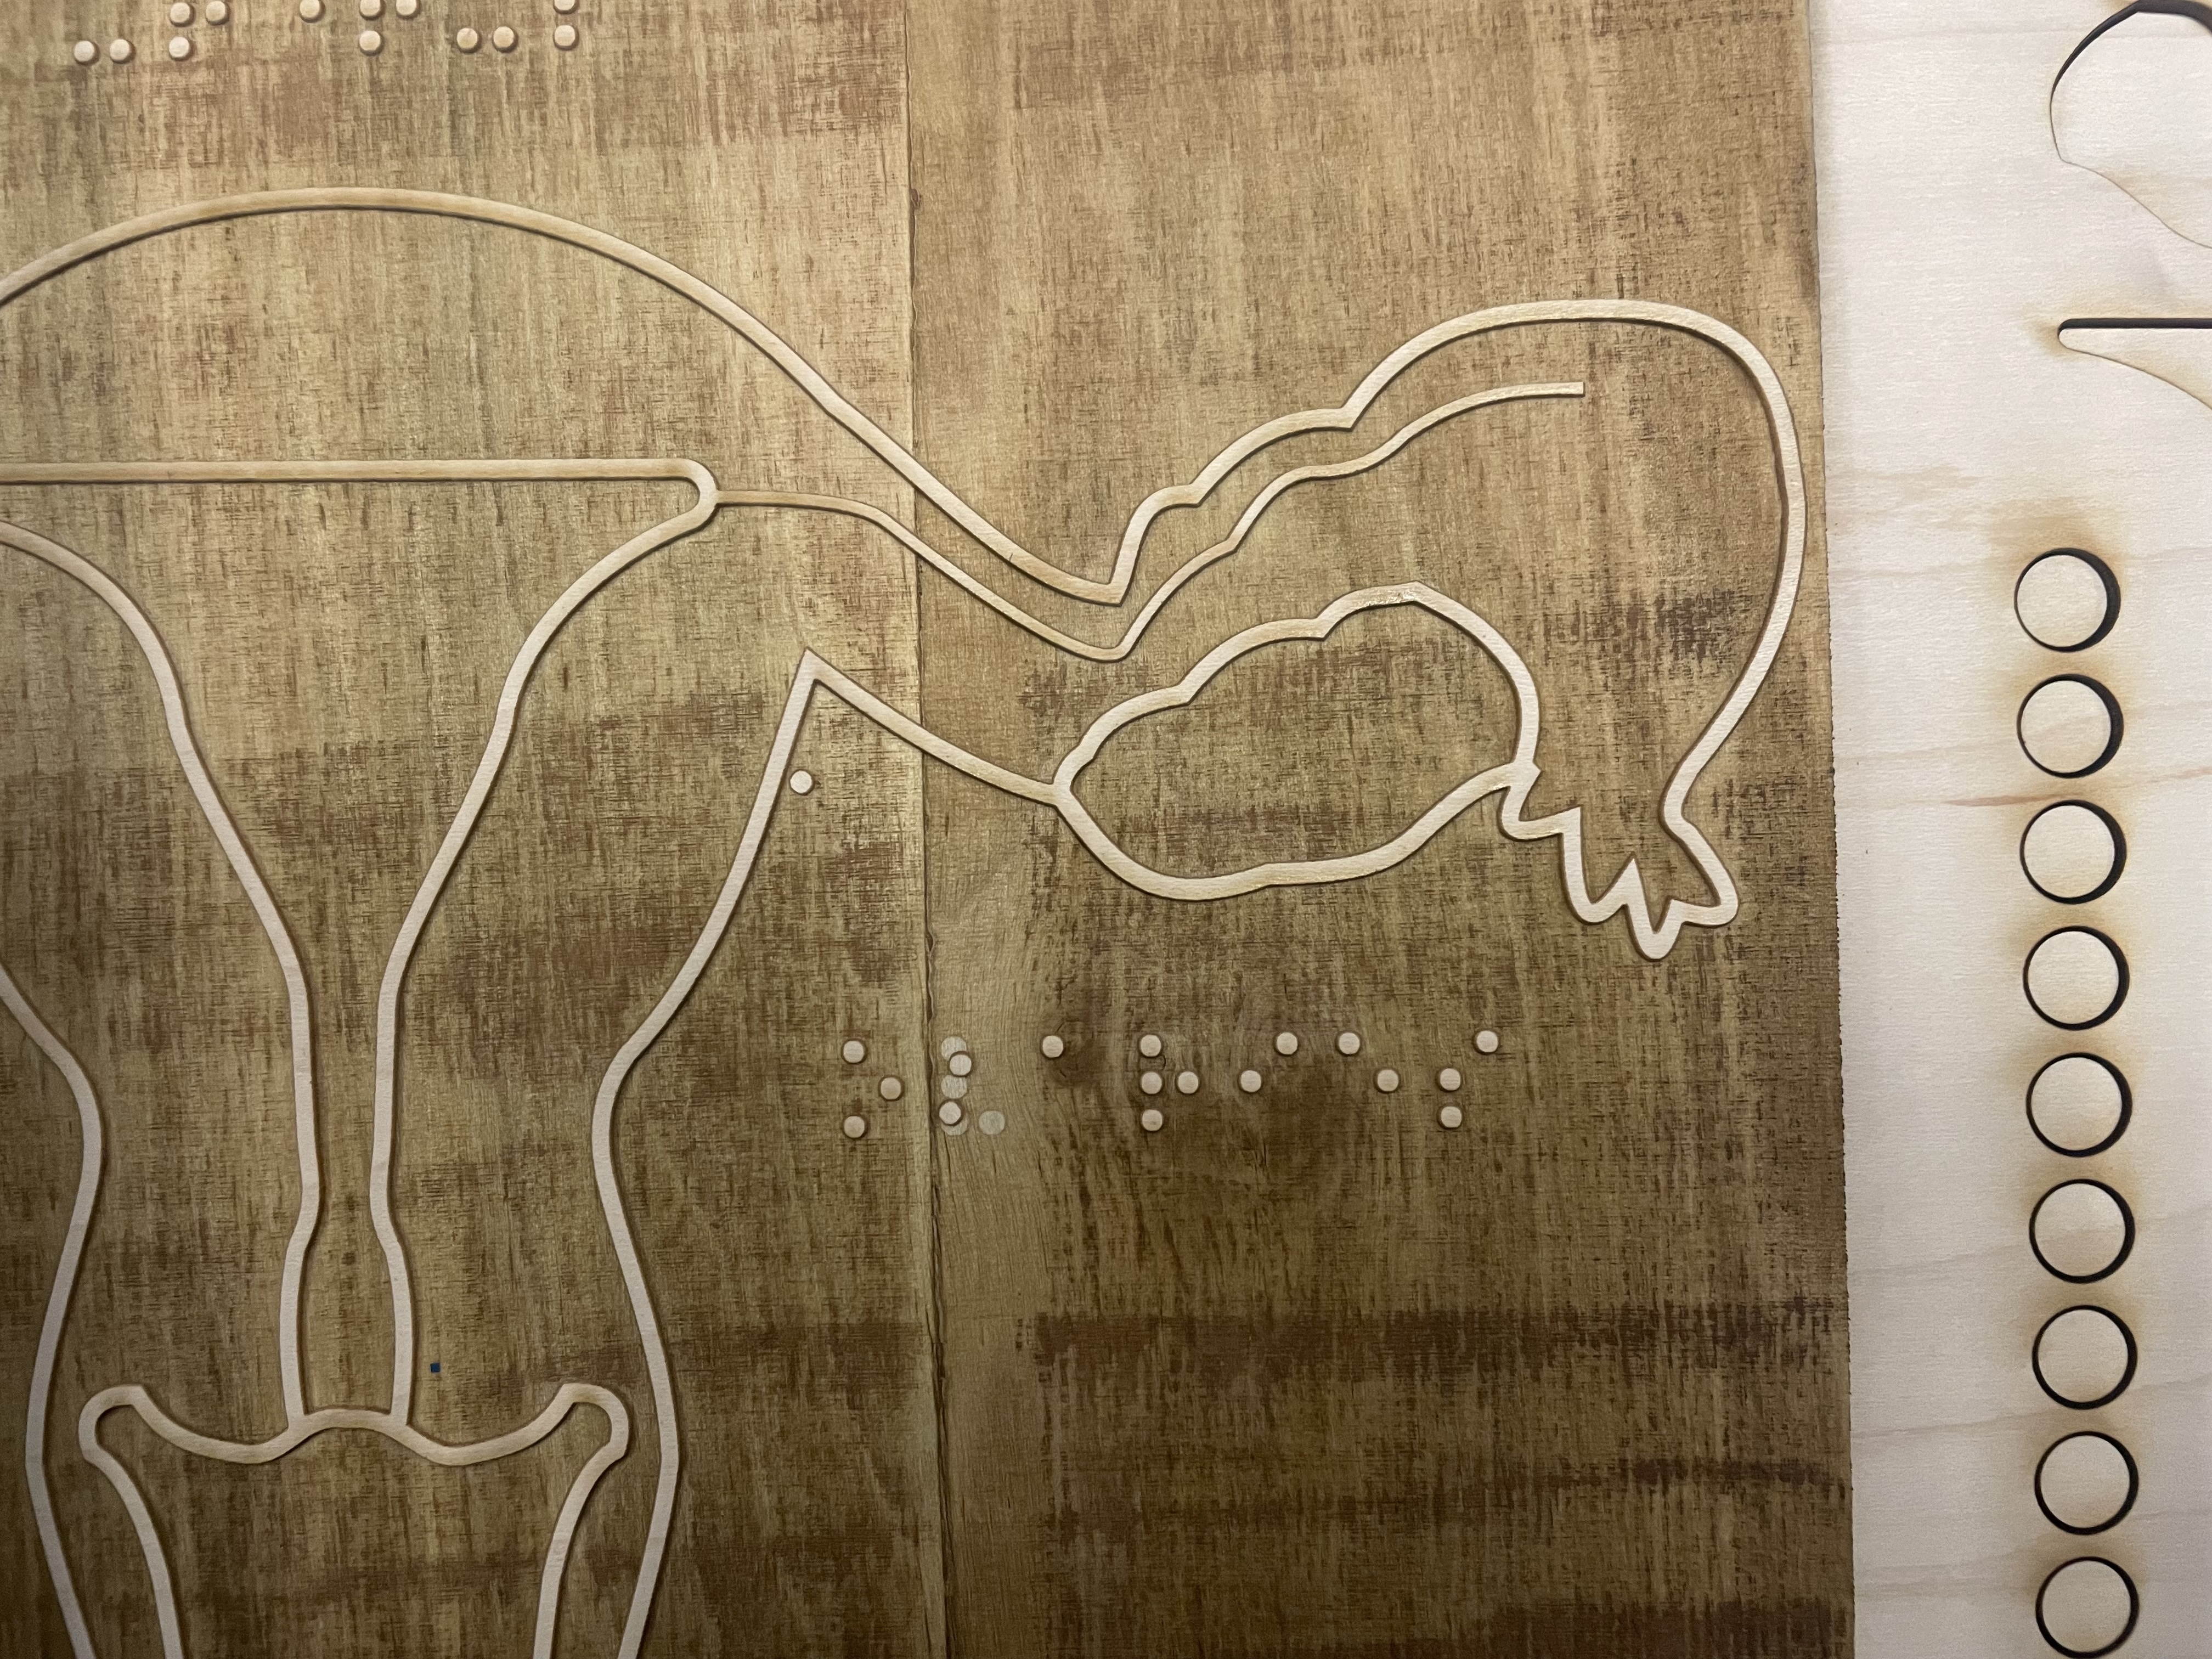
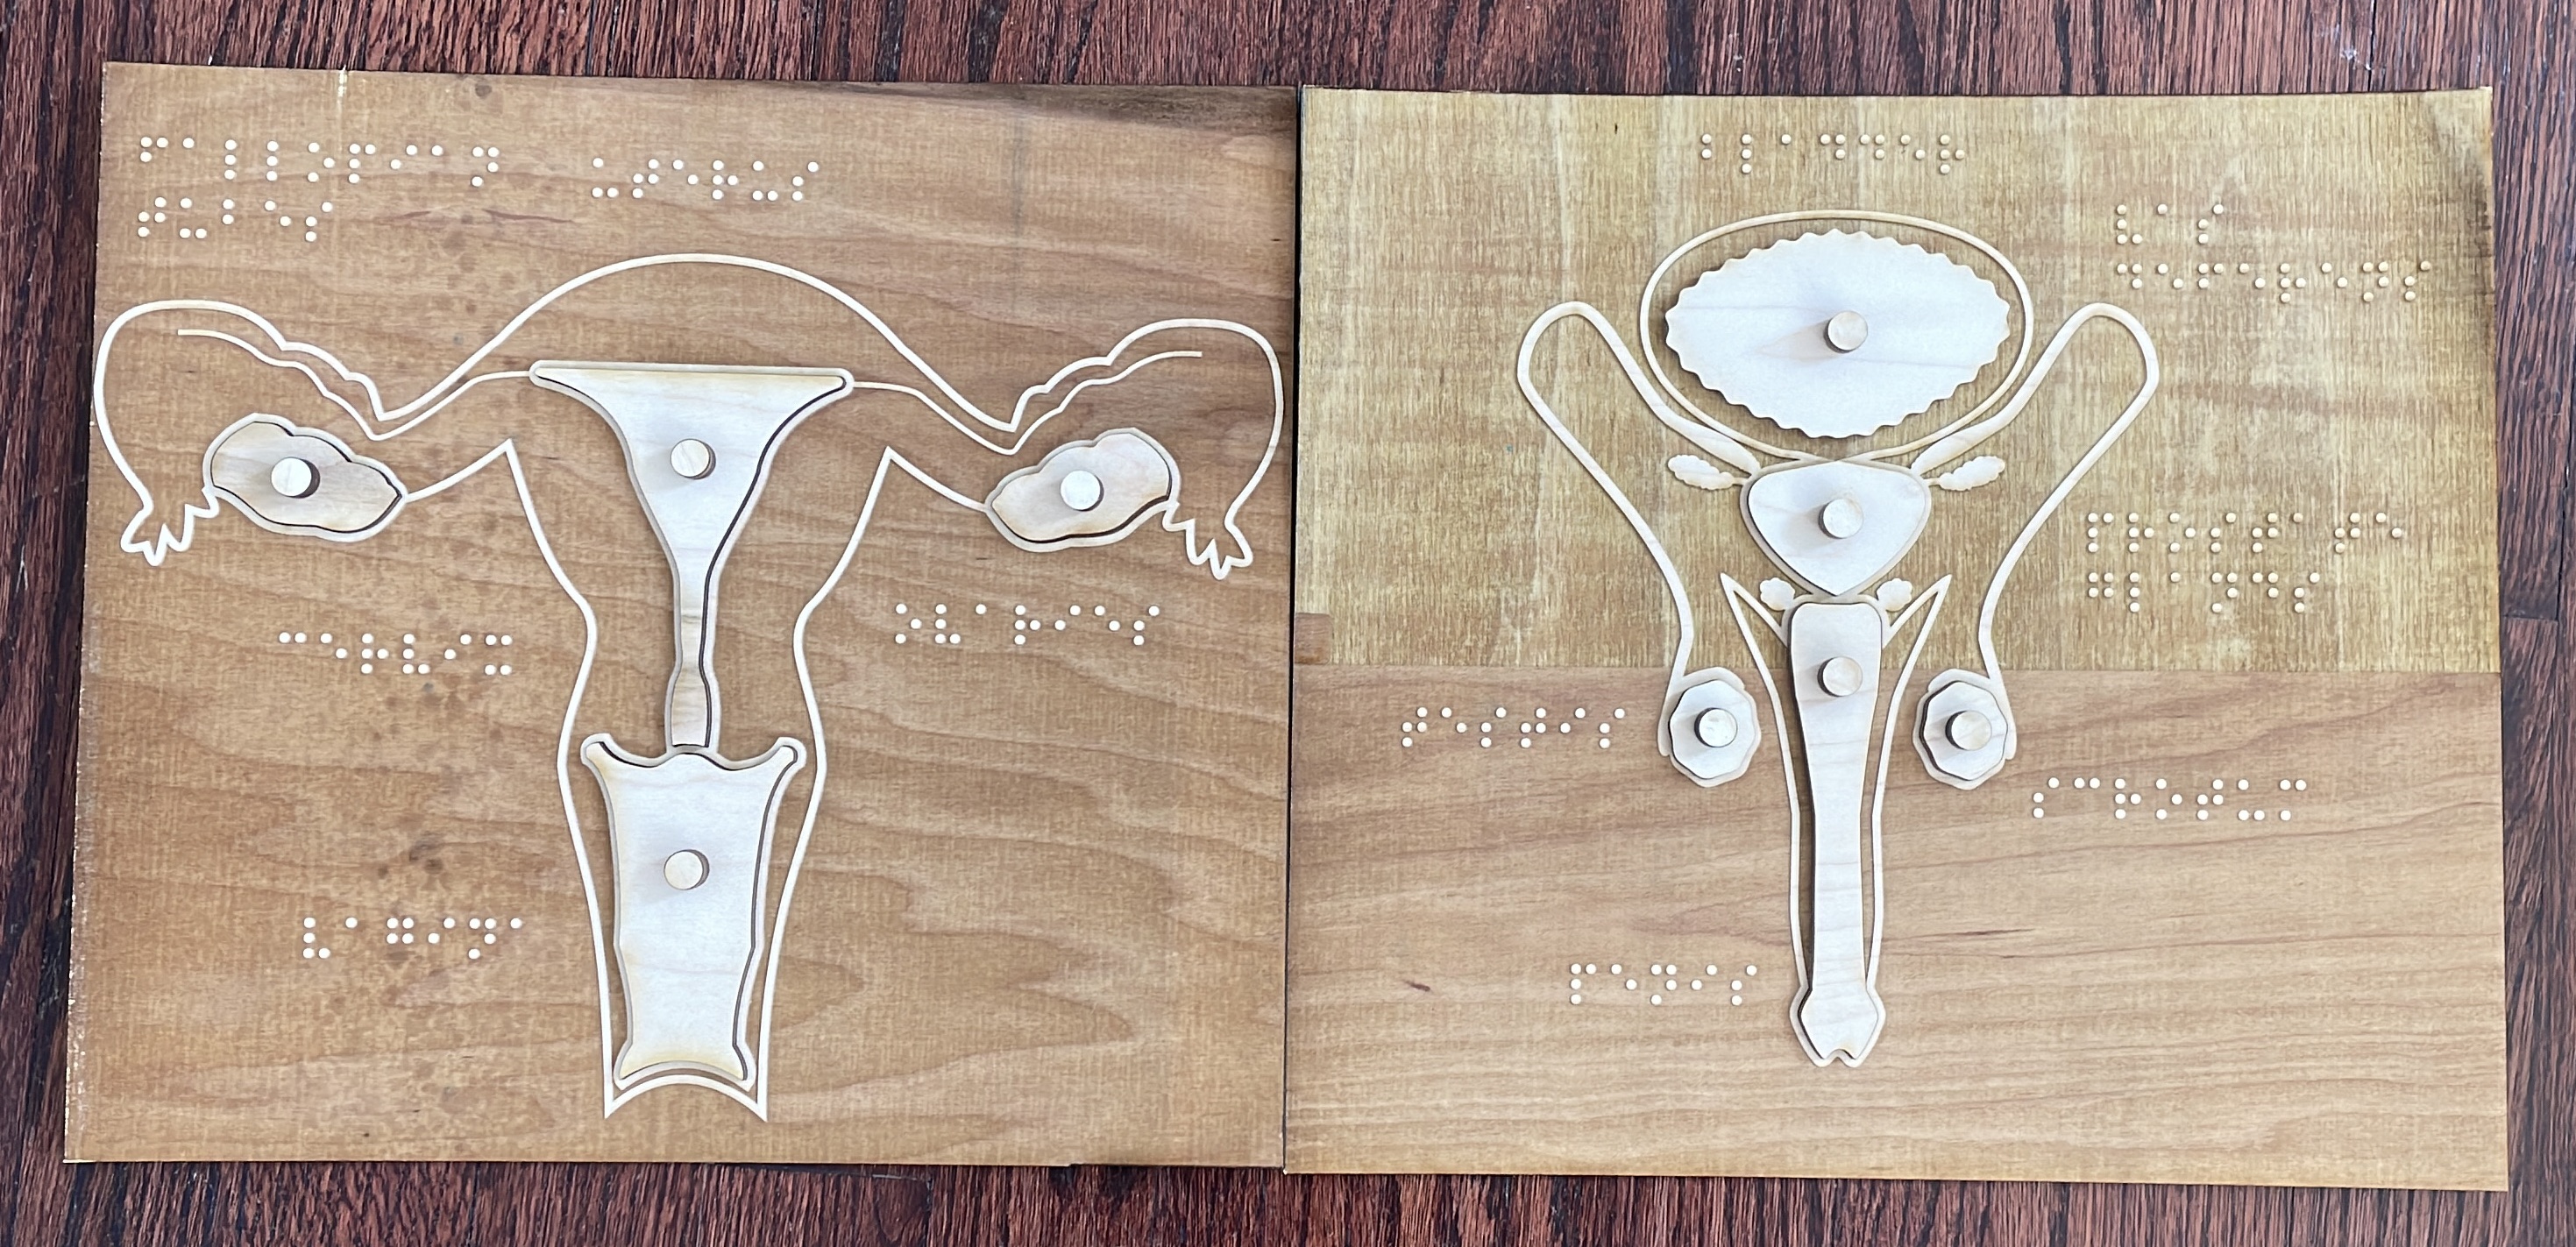
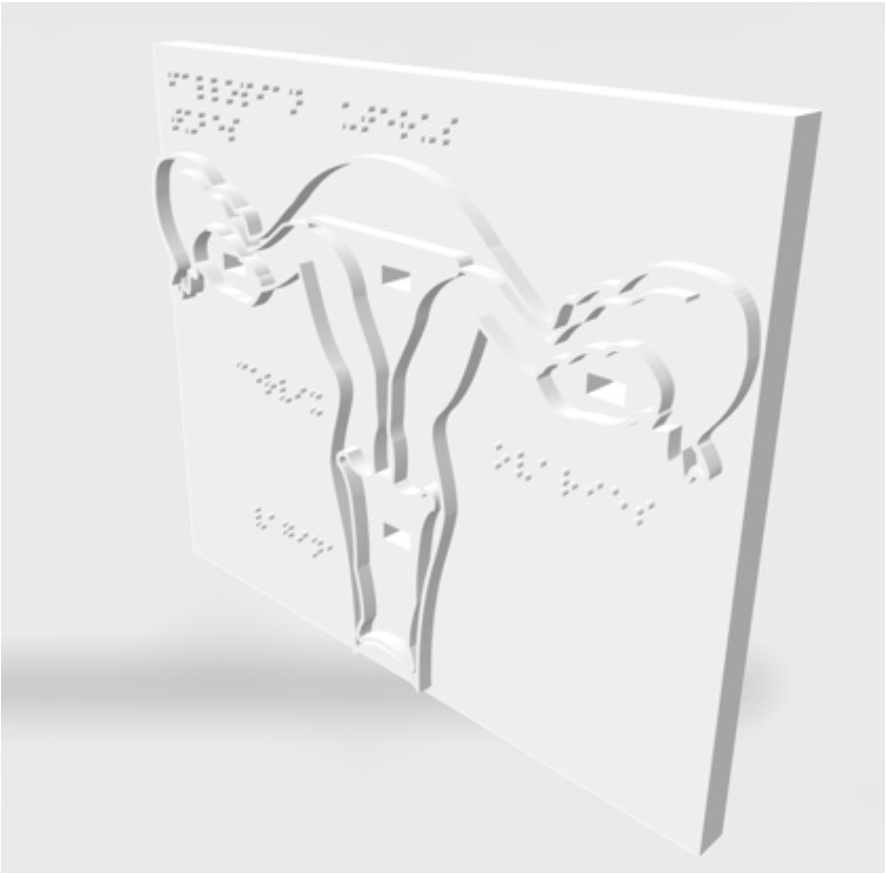
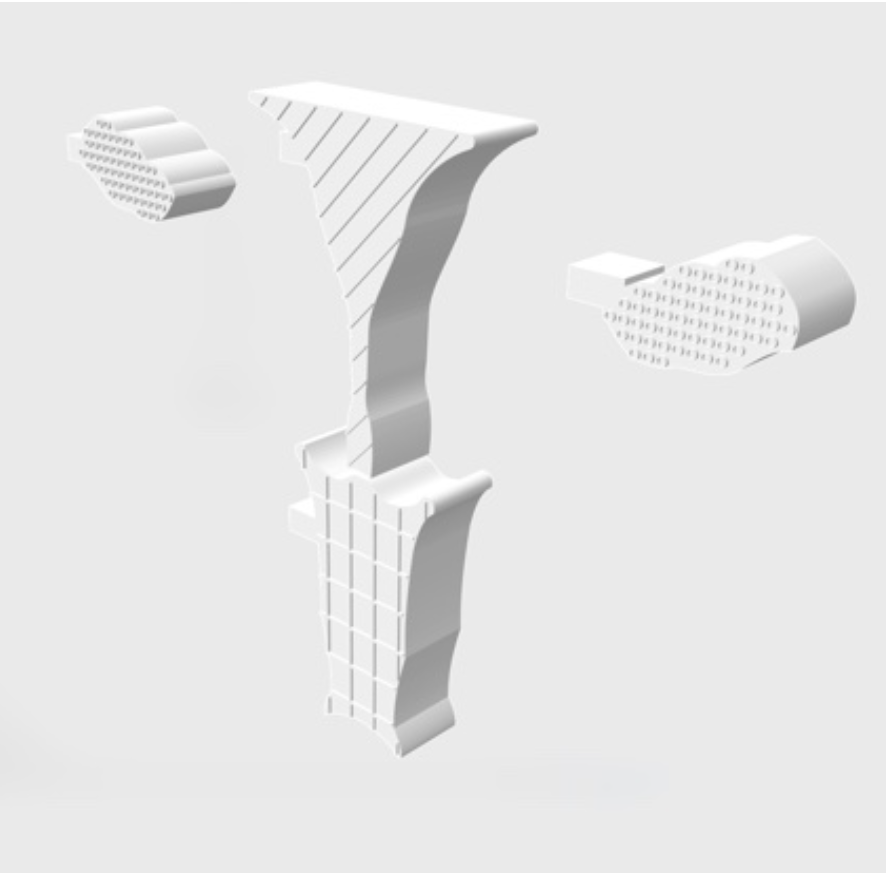
I explored laser engraving as a way to work with converting 2D diagrams into tactile material. I tried engraving and cutting on plywood and played around with negative and positive spaces of the text and diagrams. I used a greater power for engraving to get a more prominent depth. I also used braille text instead of the English alphabet to understand the size and how it would look.
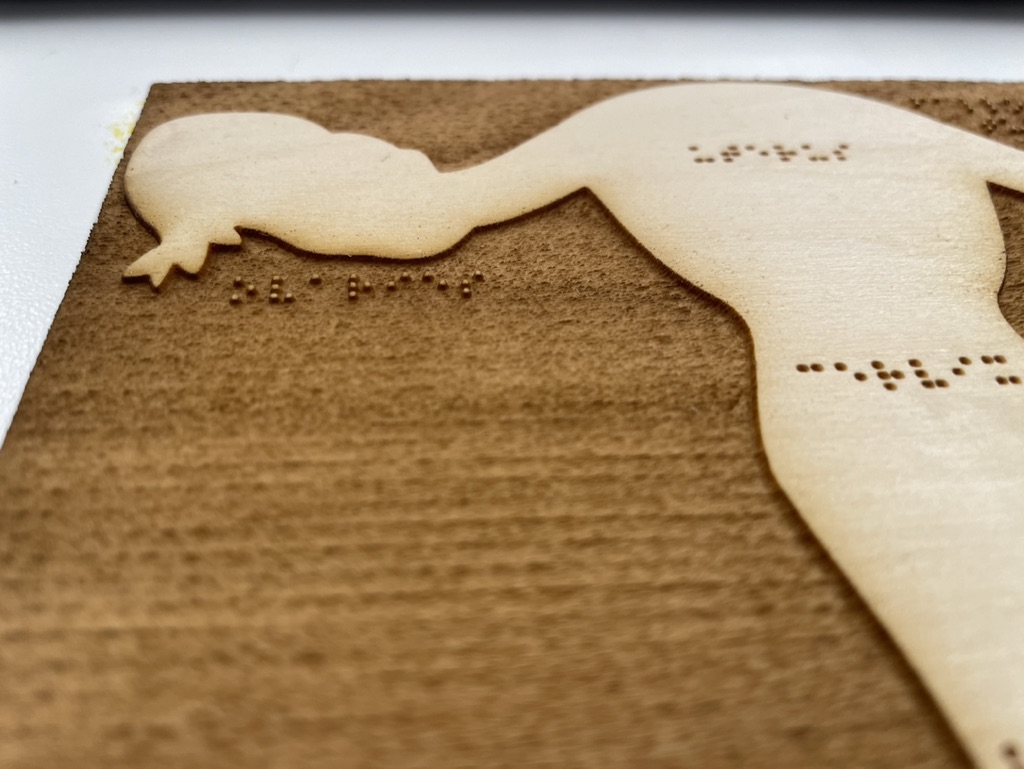
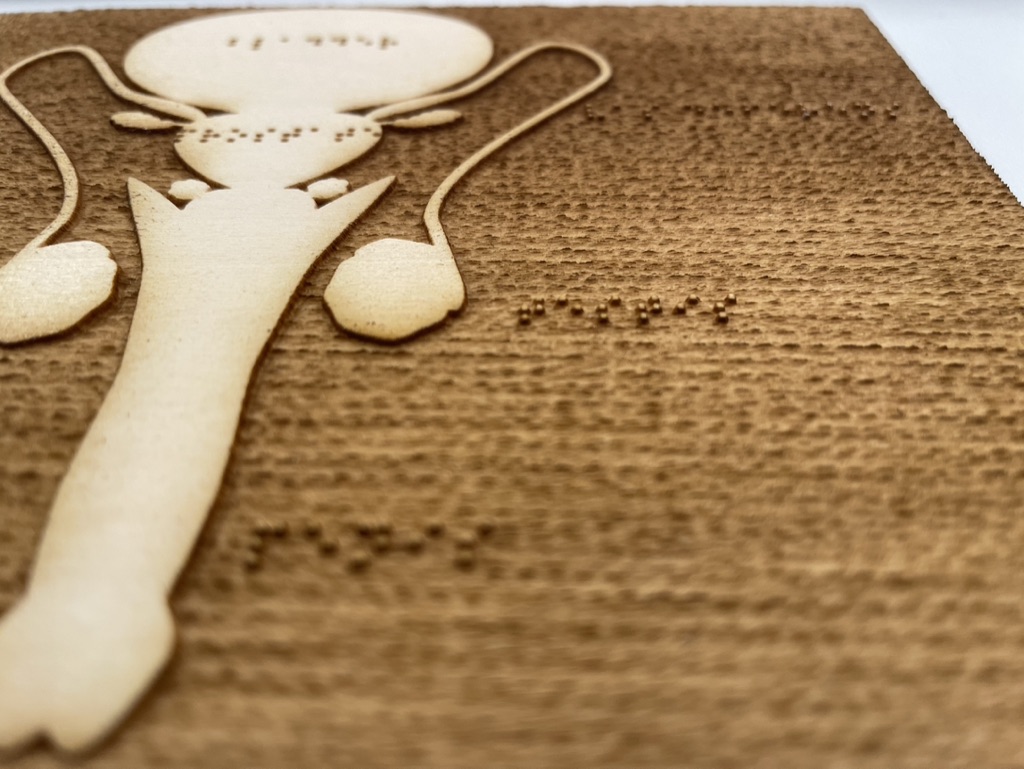
Plywood was my initial choice because it was easily accessible and available. It could give enough depth in engraving to create raised surfaces. In the next iteration, I worked more towards creating separate pieces and raised outlines. After some trial and error (L) with the laser raster engraving, I found a sweet spot to create the first "press-and-play" prototype (R).
Further Insights
I connected with Erika Teal, who is a teacher for visually impaired (TVI). She works on designing and redesigning existing games and curriculums to support teaching children with partial or complete blindness by making them accessible. Some of her further insights were:
- Giving verbal descriptions of what is happening plays is key
- Especially in the context of anatomy, it is important for children to understand how things are spatially and how parts fit into the anatomy
- Wooden shape puzzles have been proven very useful in communicating shapes developing a sense of space and objects for the children
I also spoke to Bojana Coklyat, an assistant professor who teaches Design for Accessibility at The New School. She herself has low vision and provided some recommendations:
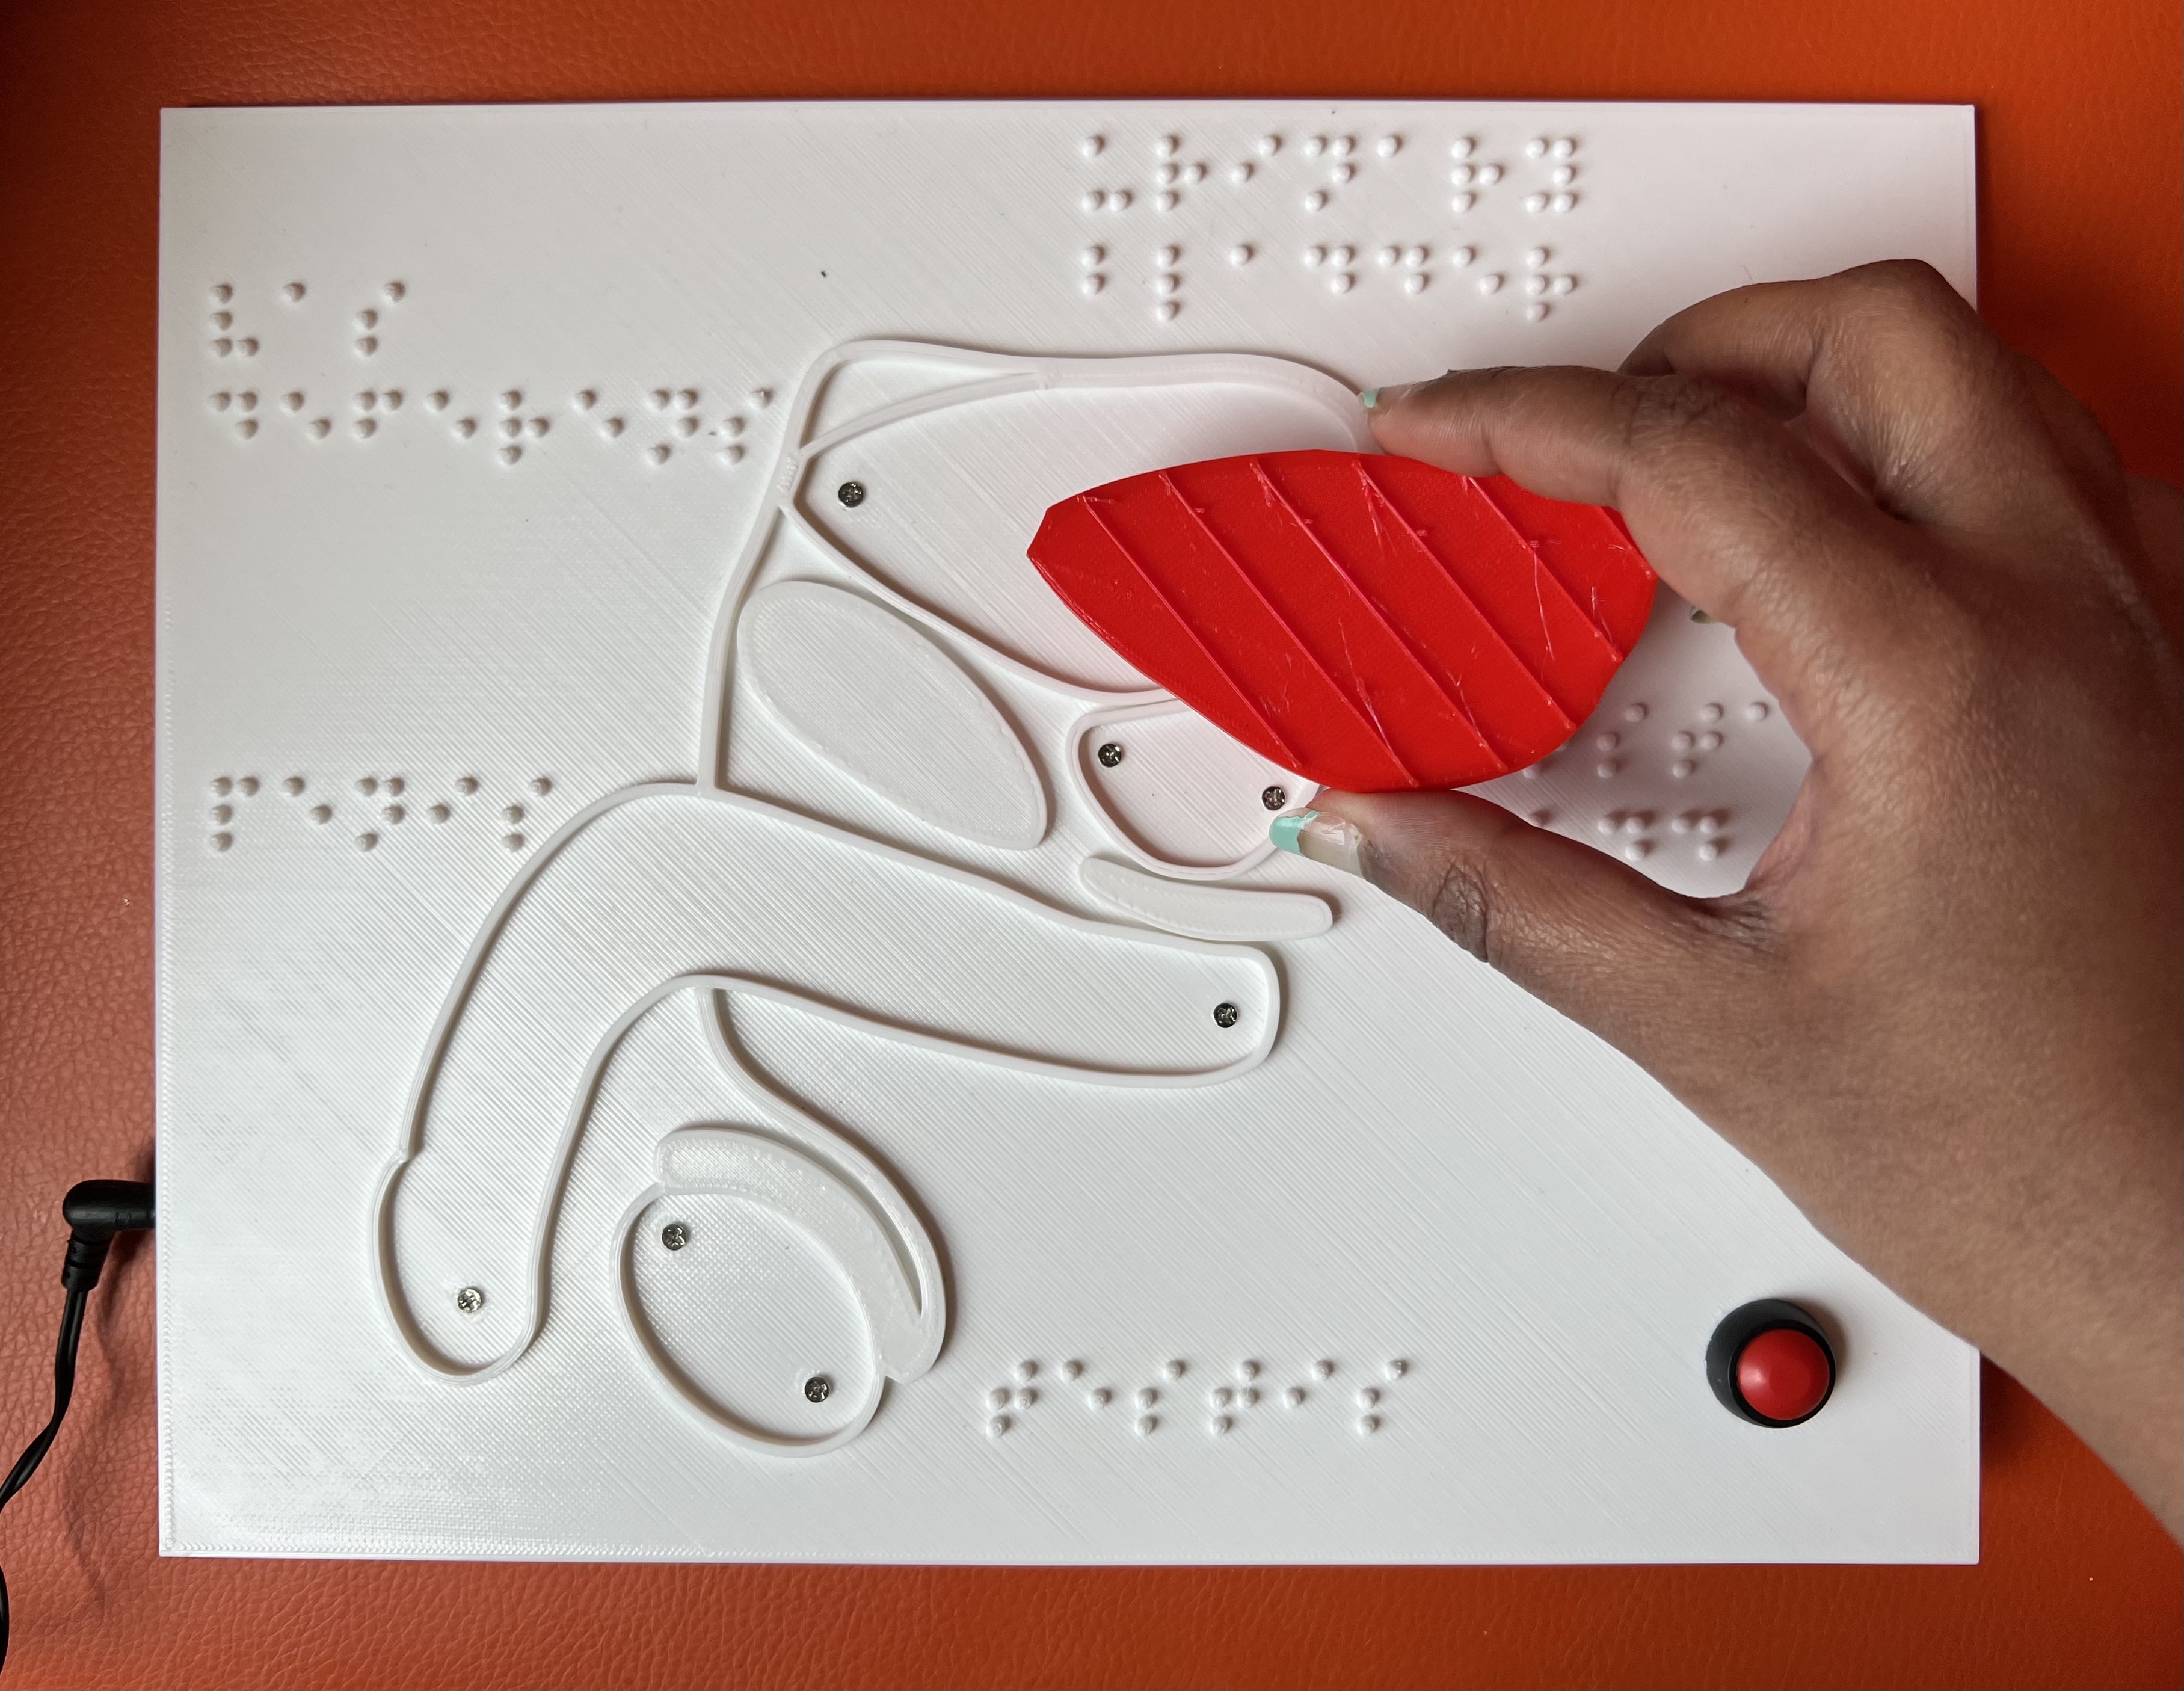
- Using high contrast/ bright colors for the 3D model for children with low vision to differentiate easily
- Using textured fabrics or soft materials on surfaces to give the sense of warmth, body and biology
- Adding some guiding audio at the beginning to help them move through the organs and explain the structure and processes
Final Version
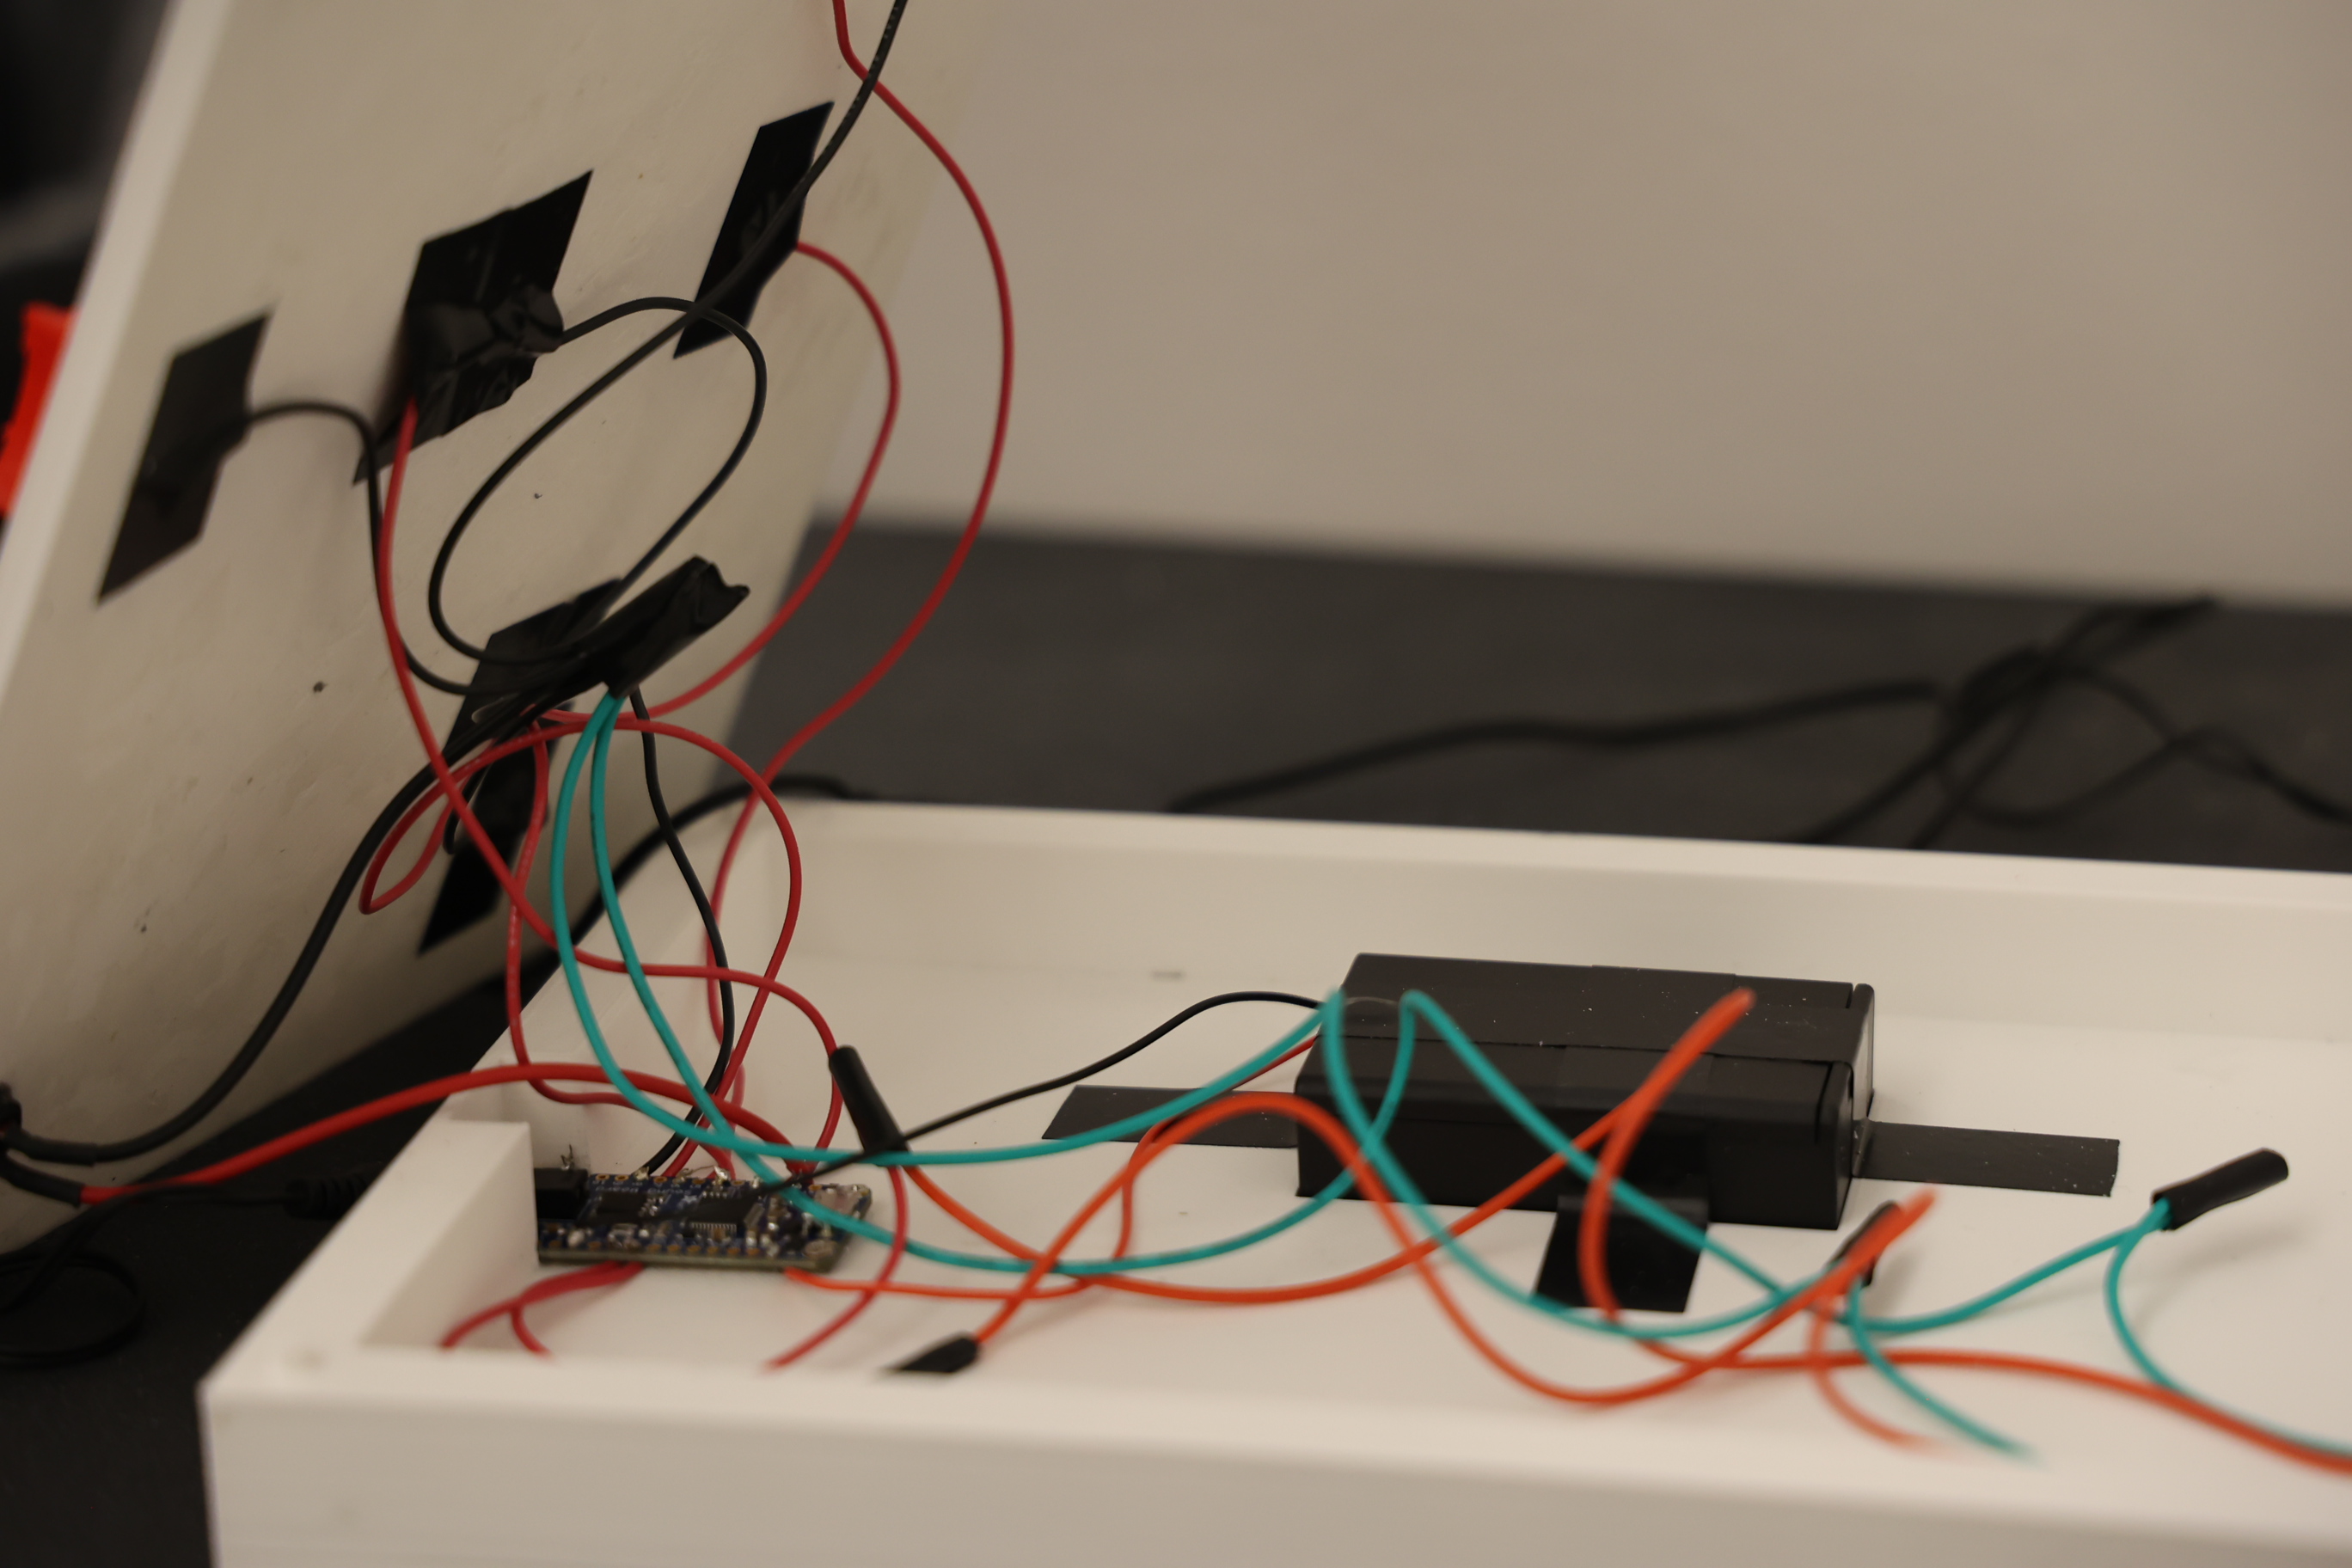
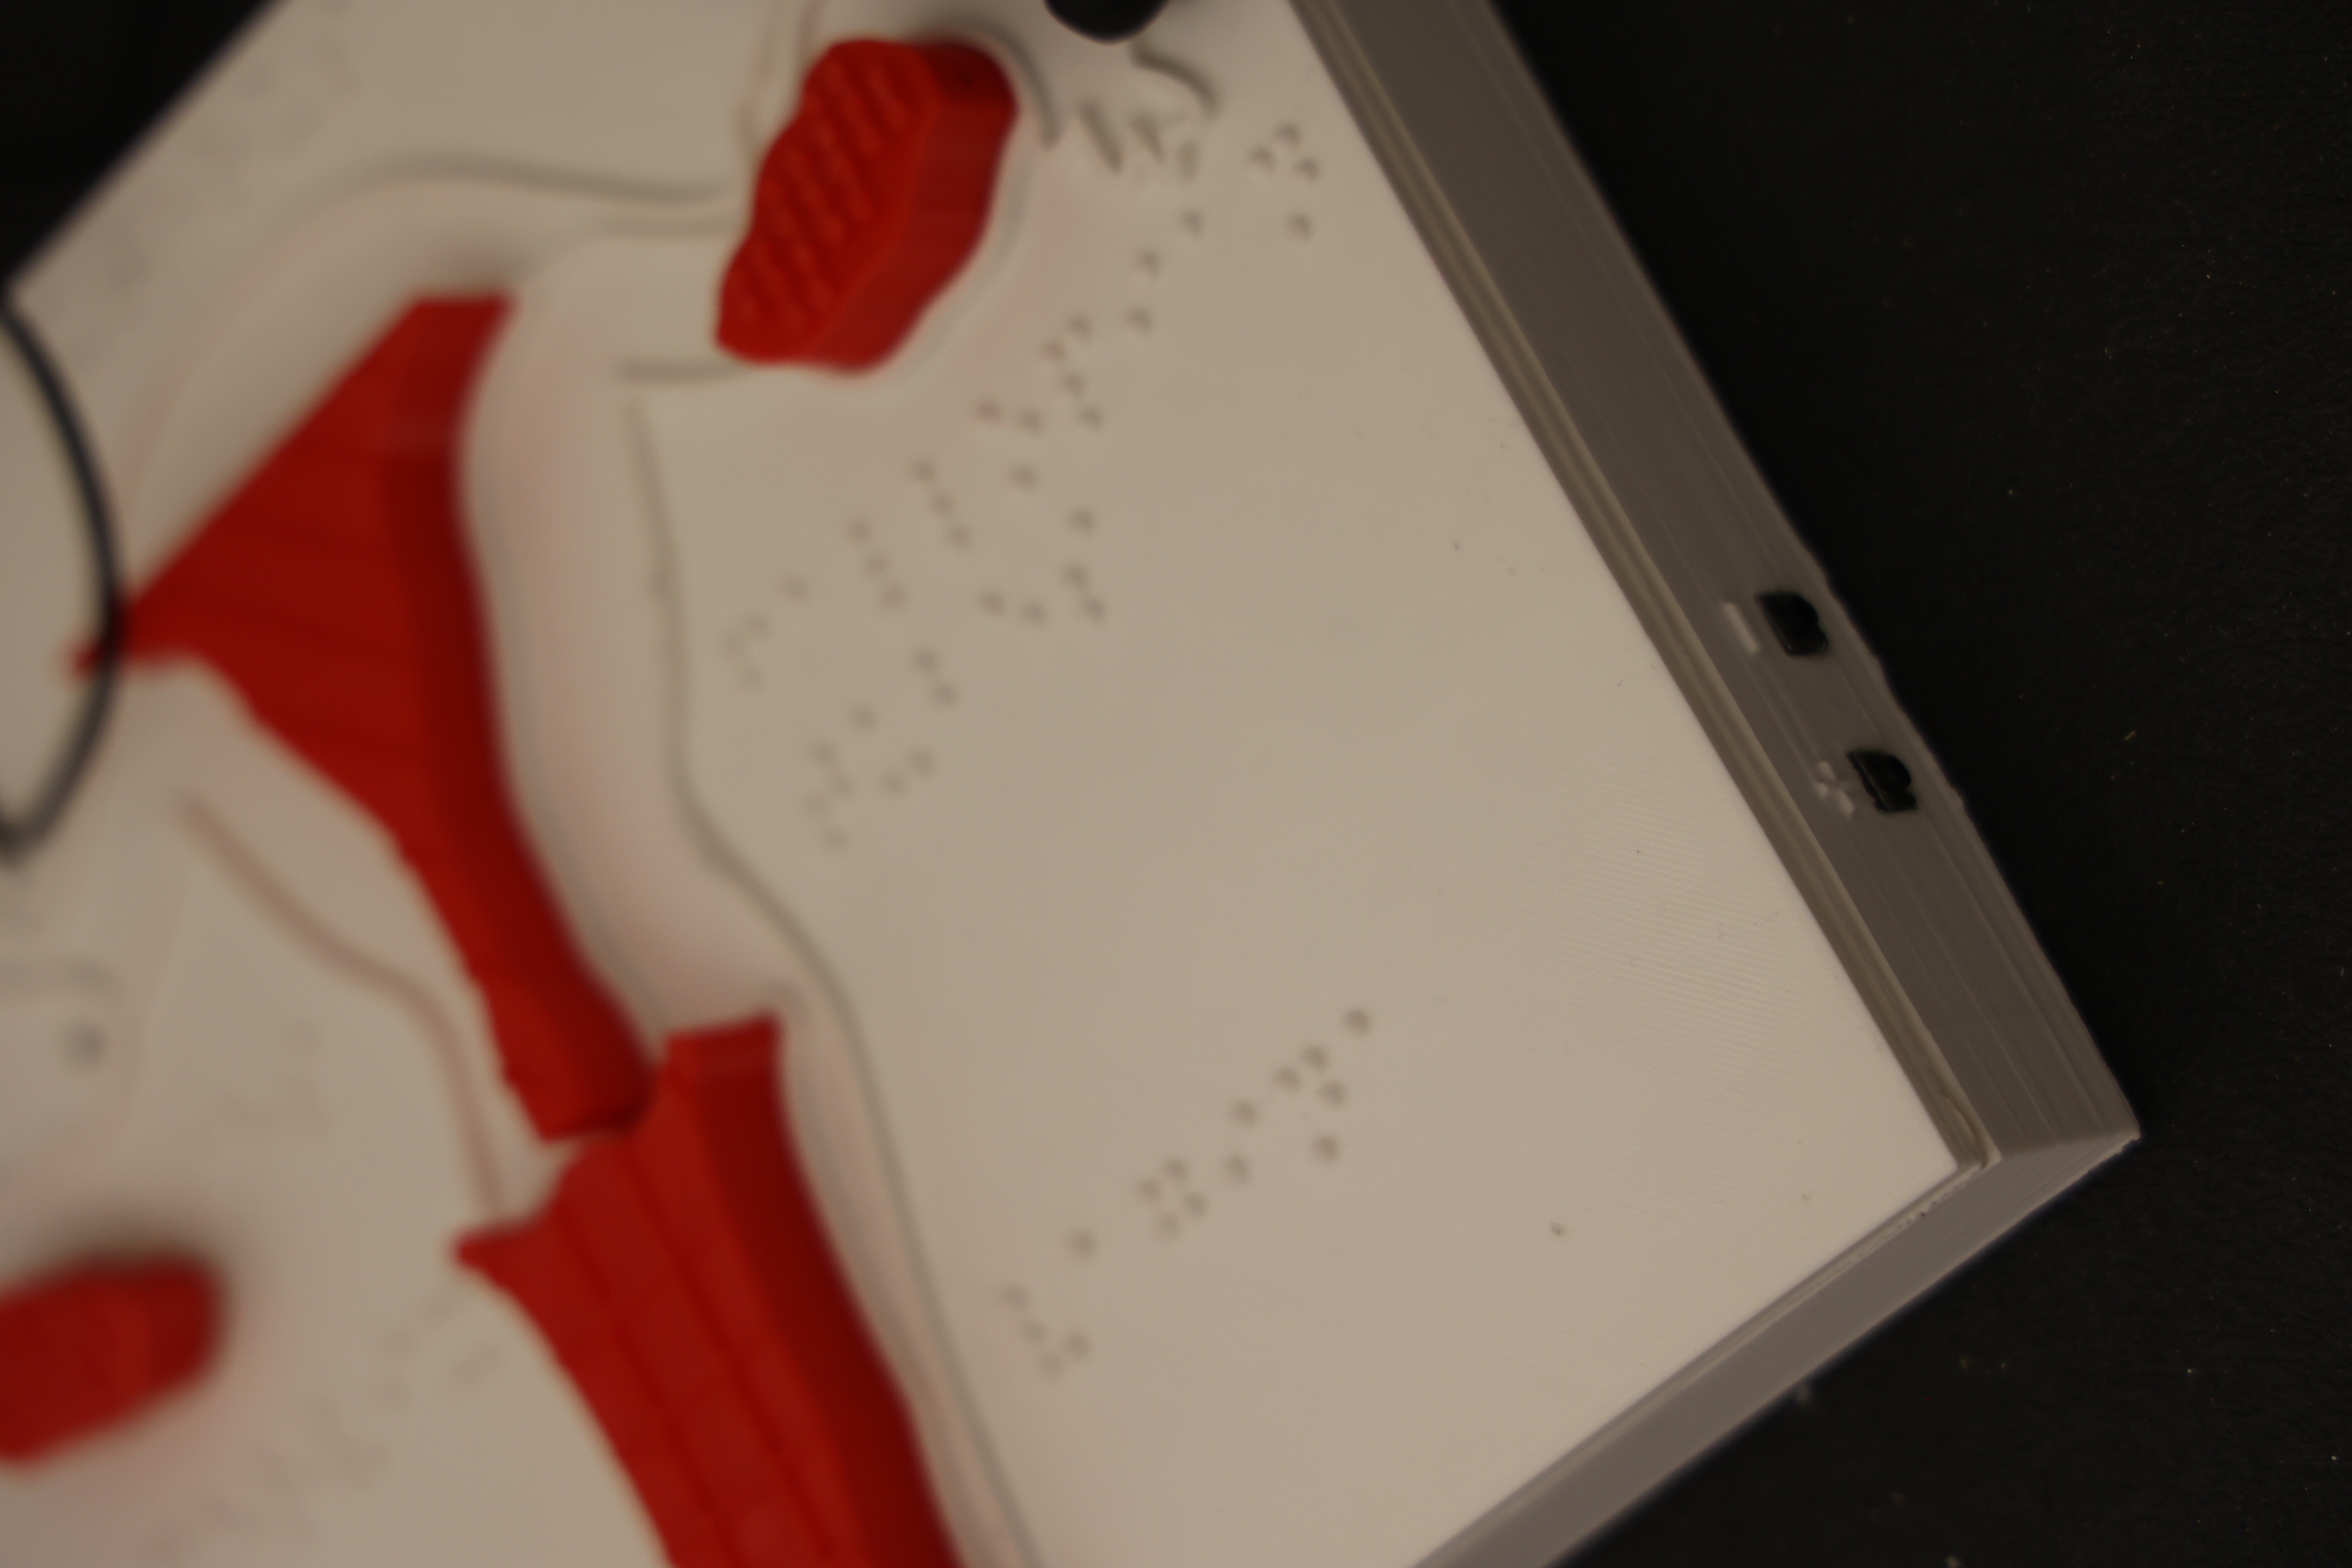
As plywood didn't provide the best results, I moved to 3D printing. I designed a 3D model using Blender. It included space for making electrical connections to an Arduino Soundboard by Adafruit to provide audio descriptions through play.

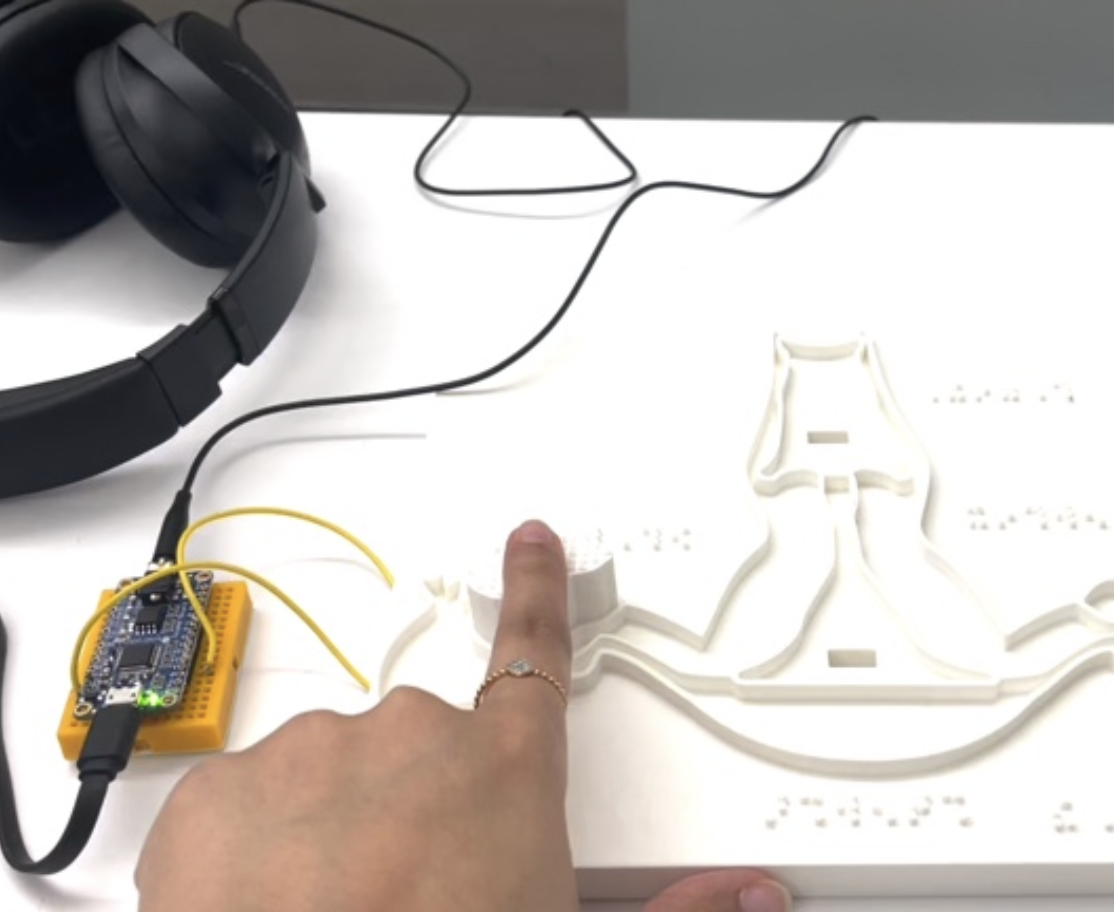
Once I had a fairly good idea of scales and materials, I developed the final version with a container to hold the electronics (Arduino Soundboard, cables and batteries), and refined further by adding a "Start" button to introduce the audio experience and volume buttons on the side. The pieces were bright red to offer high contrast for limited vision, were softer PLA material, and had distinct textures to separate the pieces from each other. The base was plain white. Audio could be played by connecting an aux cable to either headphones or speakers.
In Action
The prototype was tested at Poona School and Home for the Blind by members of Jnana Prabodhini's Institute of Psychology.
For more details on the project:
- Check out the thesis documentation to view different parts of the process in further detail.
- Read my publication for the End of Year show at Parsons School of Design.
- Take a look at my final paper to read my entire process and journey